Voiding check when Assign Check numbers after Printing is enabled
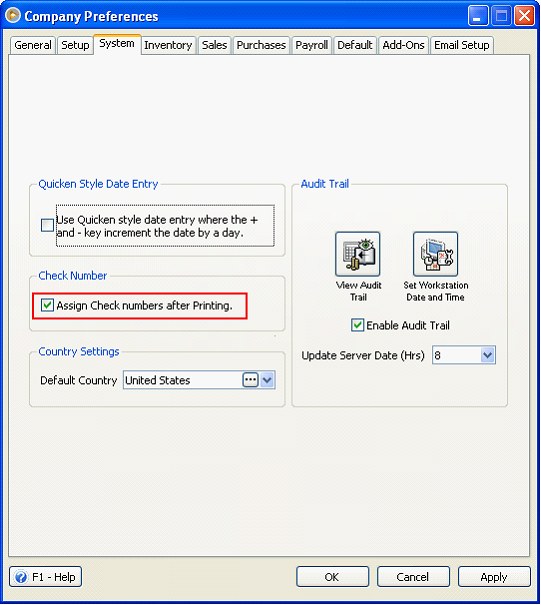
The Void Check Options form will be shown when Assign Check numbers after printing option in Company Preferences form - System tab is turned ON, and you unpost a pay bill or write check transaction (created from Pay Bills) or click Void button in Paid Bills History form.
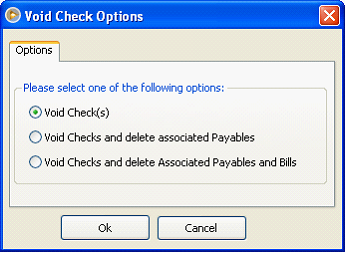
Each selection is described below.
![]() Void Check(s) - the corresponding Check Number(s) will be marked as Void.
Void Check(s) - the corresponding Check Number(s) will be marked as Void.
![]() Void Check(s) and Delete Associated Payables – marks the corresponding Check Number(s) as Void and automatically deletes any associated Pay Bills transaction. After the voiding process a message will be displayed showing all deleted Pay Bill transactions.
Void Check(s) and Delete Associated Payables – marks the corresponding Check Number(s) as Void and automatically deletes any associated Pay Bills transaction. After the voiding process a message will be displayed showing all deleted Pay Bill transactions.
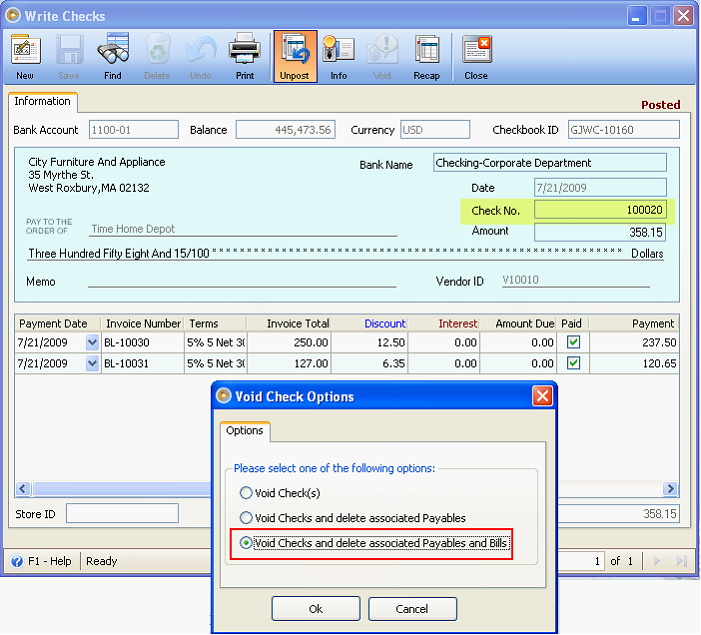
![]() Void Check(s) and Delete Associated Payables and Bills - marks the corresponding Check Number(s) as Void and automatically deletes any associated Bill and Pay Bill transactions. After the voiding process a message will be displayed showing all deleted Bill and Pay Bill transactions. However if the Bill has other existing Pay Bill transactions, only the Pay Bill transaction with the corresponding Check Number(s) will be deleted and the user will be notified that the Bill cannot be deleted because there are other Pay Bill transactions associated with it.
Void Check(s) and Delete Associated Payables and Bills - marks the corresponding Check Number(s) as Void and automatically deletes any associated Bill and Pay Bill transactions. After the voiding process a message will be displayed showing all deleted Bill and Pay Bill transactions. However if the Bill has other existing Pay Bill transactions, only the Pay Bill transaction with the corresponding Check Number(s) will be deleted and the user will be notified that the Bill cannot be deleted because there are other Pay Bill transactions associated with it.
In this page you will see how these three options are used in AP/Write check transactions.
A. Void Checks
Choosing the VOID check/s option means that selected Pay Bill transaction/s will be UNPOSTED and associated check/s created from that pay bill will be VOIDED.
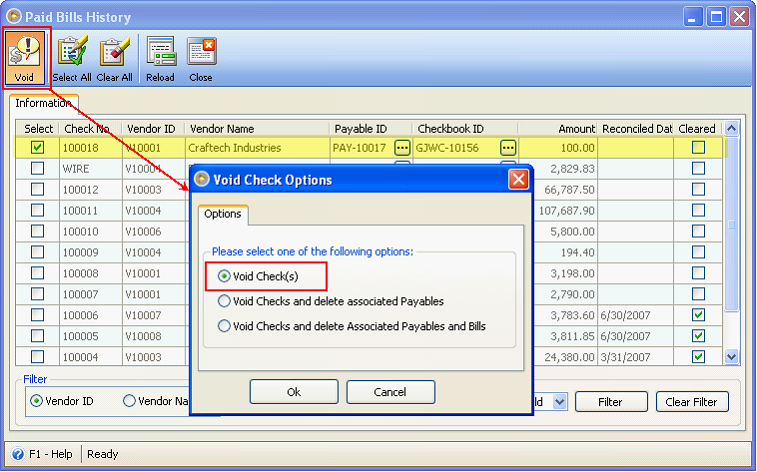
Example: In Paid Bills History form, select unreconciled transaction (Cleared checkbox not checked). Click Void button.
![]() Note that reconciled or cleared transactions (Clear checkbox is checked) cannot be voided.
Note that reconciled or cleared transactions (Clear checkbox is checked) cannot be voided.
Select to VOID Check No. 100018. Option selected is Void Check(s) and then click OK.
This confirmation message will be shown. Click OK.
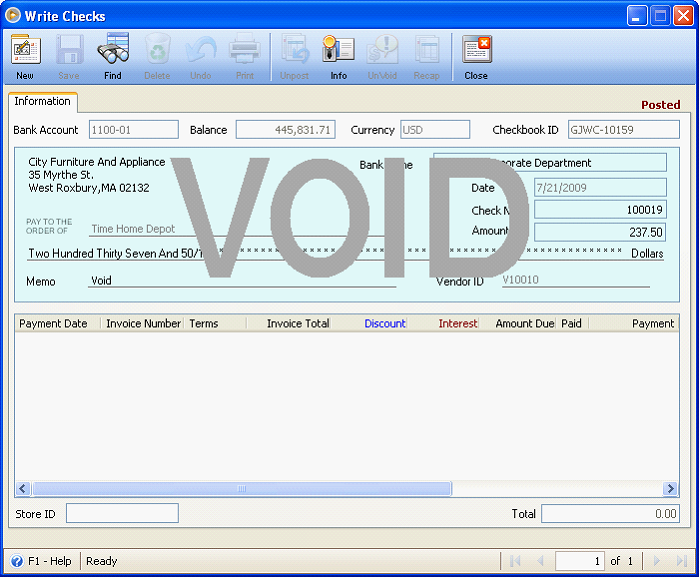
So when you check the Write Check transaction, you will see that the said check is voided. To check it, you may use the check number to find for that specific record.
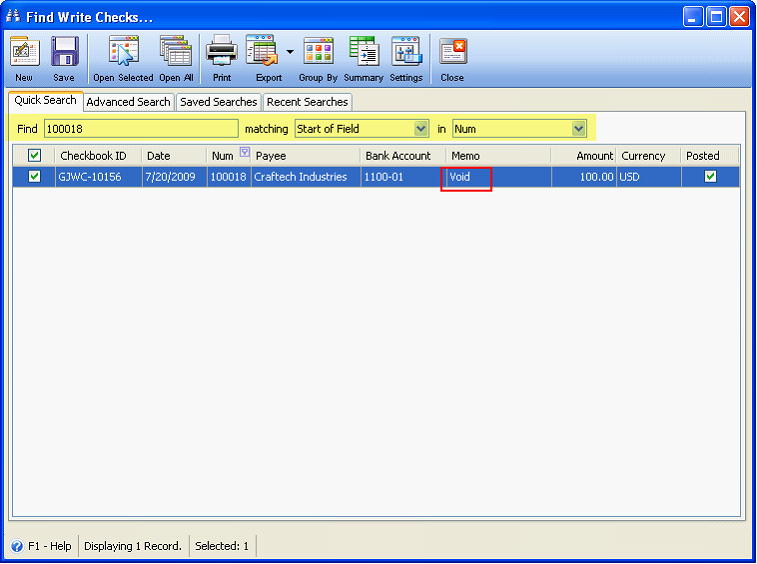
This is how a void check will look like

The same thing happens when unposting pay bill transaction or write check transaction (created from pay bills) and then Void Check(s) option is selected.
B. Void Check(s) and Delete Associated Payables
Choosing the VOID Check/s and Delete Associated Payables option means that the Payable transaction will be UNPOSTED and DELETED and then Write Check transaction will be VOIDED.
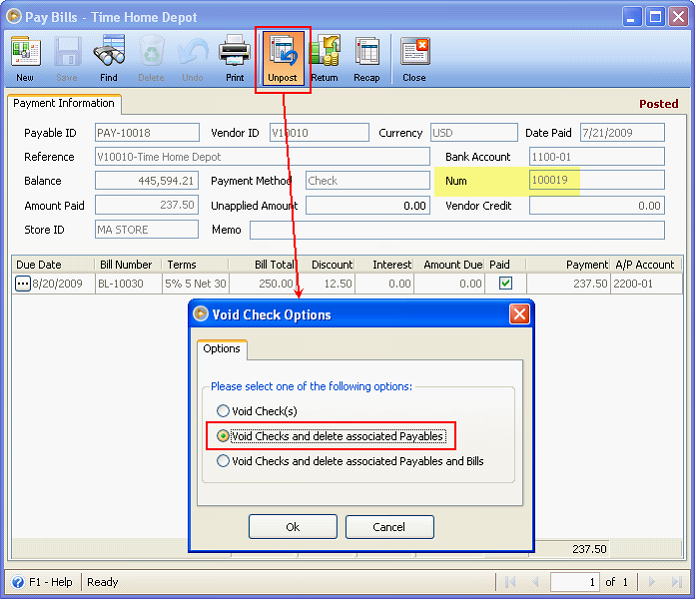
Example: In Pay Bills form, click Unpost button and Void Check Options form opens. Select Void Checks and delete associated Payables and click OK.
This confirmation message will be shown. Click OK.
So when you check the Write Check transaction, you will see that the said check is voided. To check it, you may use the check number to find for that specific record.
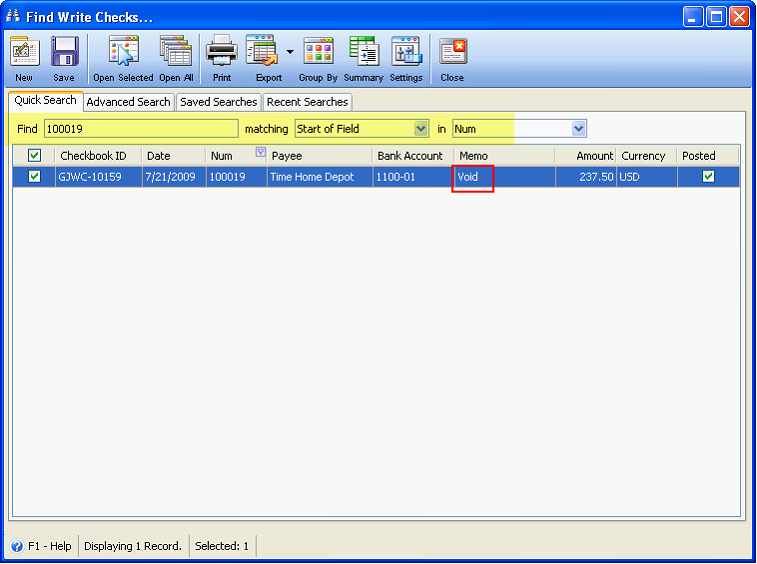
This is how a void check will look like. Notice that the detail area does not anymore show the Bill transaction since the payment transaction was deleted.
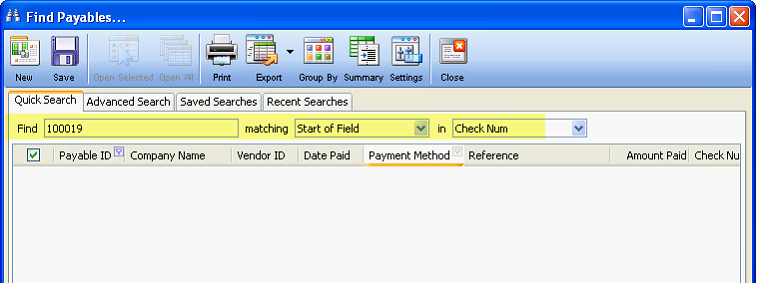
And if you are to check the Payable transaction (Pay Bills), you may use the check number to find for that specific record, in this example Check # 100019.
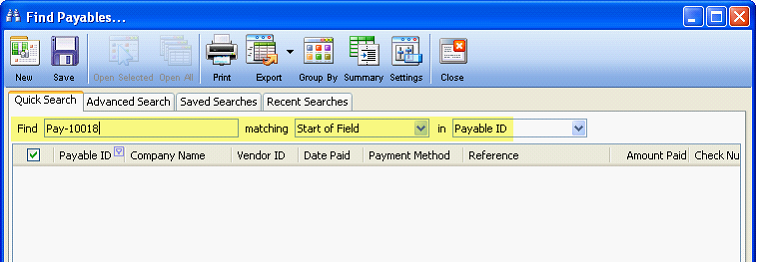
Or you may use the Payable ID, just make sure you know its specific payable ID, in this example Pay-10018, the said payable transaction can no longer be seen as it was deleted.
The same thing happens when unposting write check transaction (created from pay bills) or clicking Void button in the Paid Bills History form and then Void Check(s) and delete associated payables option is selected.
C. Void Check(s) and Delete Associated Payables and Bills
Choosing the VOID Check/s and Delete Associated Payables and Bills option means that the Payable and Bill transaction will be UNPOSTED and DELETED and then Write Check transaction will be VOIDED.
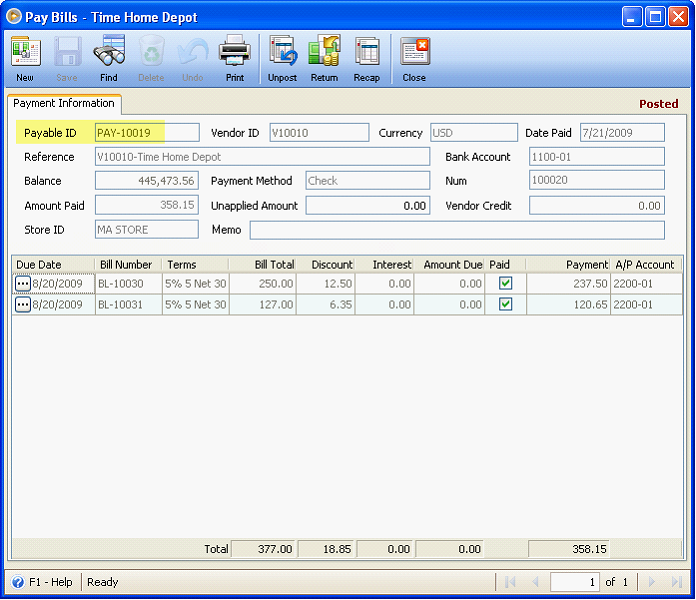
Example: This is the Pay Bills form.
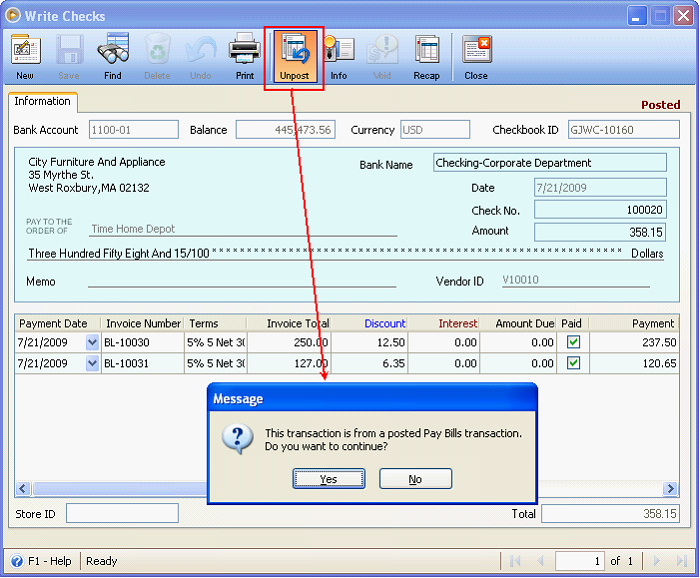
Now in this example, you will try to unpost the Write Check transaction. Clicking Unpost button will show this message. Select Yes.
Now the Void Check Options form will open. Select the last option, Void Checks and delete associated Payables and Bills.
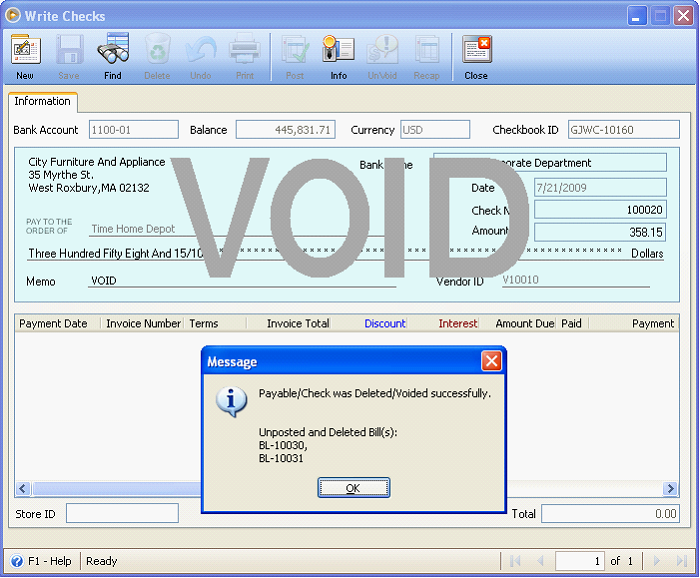
And this message will be shown.
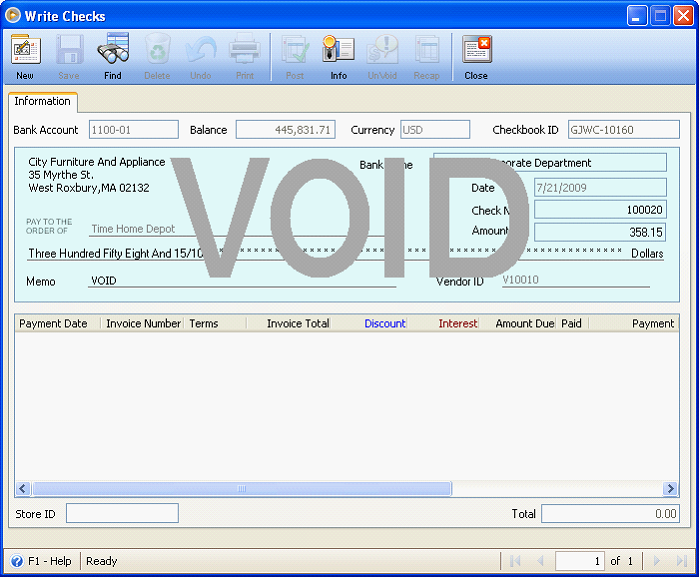
Now to check, write check has been voided. Notice that the detail area does not anymore show the Bill transaction since the payment transaction was deleted.
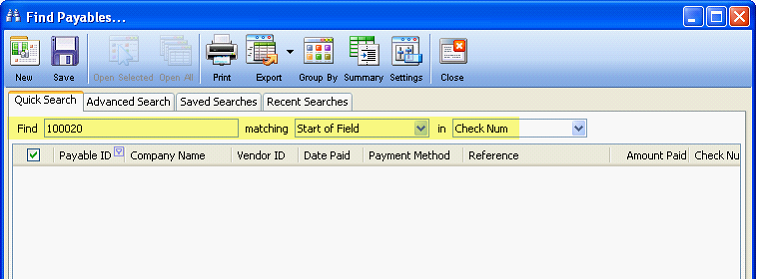
And if you are to check the associated Payable transaction, you may use the check number to find for that specific record, in this example Check # 100020.
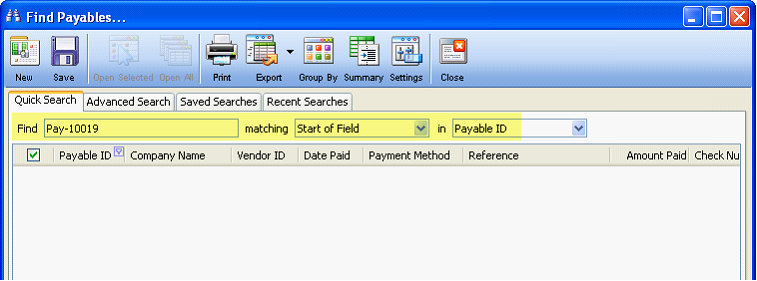
Or you may use the Payable ID, just make sure you know its specific payable ID, in this example Pay-10019, the said payable transaction can no longer be seen as it was deleted.
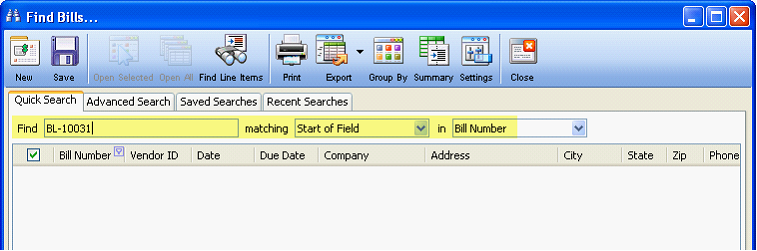
And if you are to check the associated Bill/s transaction, in this example BL-10030 & BL-10031, the said bill/s can no longer be seen as those were deleted.

The same thing happens when unposting payables transaction or clicking Void button in the Paid Bills History form and then Void Check(s) and delete associated payables and bills option is selected.