VisionCore Upgrade Wizard
The VisionCore Upgrade Wizard will guide you through the steps to import data from Image Premier 10 SQL (Build 920 or higher) or Adept Financials .NET 5.0 data files to VisionCore.
You can access the VisionCore Upgrade Wizard from the Windows Start Menu / Comtech Solutions / VisionCore / Tools / VisionCore Upgrade Wizard. You can also find it in the installation folder of VisionCore, double-click on the UpgradeWizard.exe.
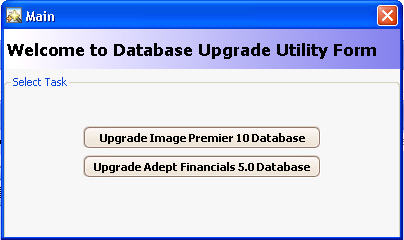
When the Welcome to Database Upgrade Utility form opens, select a task.
![]() Click on Upgrade Image Premier 10 database if you are to upgrade an Image Premier database. Please note this only works with a SQL Server backend database and not Access. If you are running an Access database Comtech Solutions will need to upgrade your data for you.
Click on Upgrade Image Premier 10 database if you are to upgrade an Image Premier database. Please note this only works with a SQL Server backend database and not Access. If you are running an Access database Comtech Solutions will need to upgrade your data for you.
![]() Click on Upgrade Adept Financials 5.0 Database if you are to upgrade an Adept Financials 5.0 database.
Click on Upgrade Adept Financials 5.0 Database if you are to upgrade an Adept Financials 5.0 database.
In the Welcome Database utility form, there are 4 tasks to select from. These 4 tasks are Upgrade Database, Update Transaction Totals, Rebuild Costing Table and Apply Phone Masking. Below are the steps on how to accomplish these tasks.
A. Upgrading Image Premier 10 Database / Adept Financials 5.0 Database
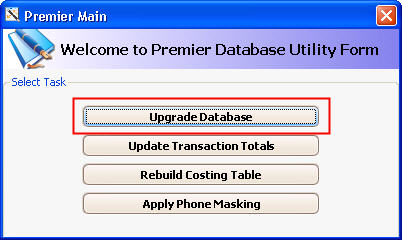
1. In the Welcome Utility form, click Upgrade Database.
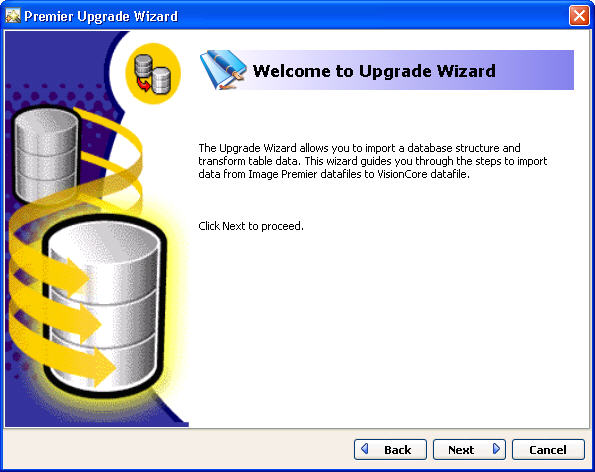
2. The Upgrade Wizard will allow you to import a database structure and transform data table. This will walk you through the steps of importing data from Image Premier / Adept data files to VisionCore. Clicking Next will move you to the next step of the Upgrade Wizard.
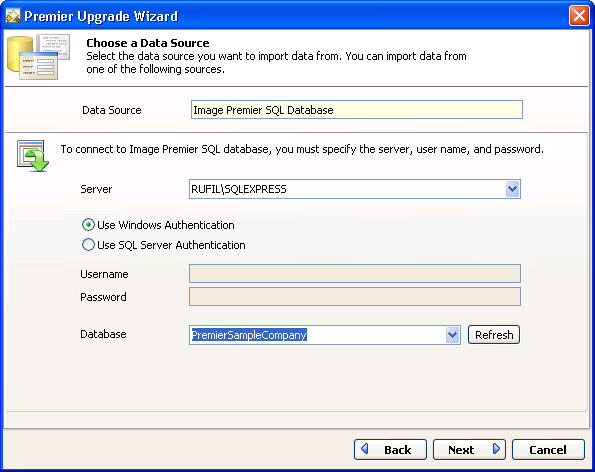
3. CHOOSE A DATA SOURCE
In this form, select a data source you want to import data from. To connect to Image Premier / Adept Database, you must specify the Server, User Name and
Password, if SQL Server Authentication is selected, and the Premier / Adept Database you want to import data from.
Click NEXT to continue.
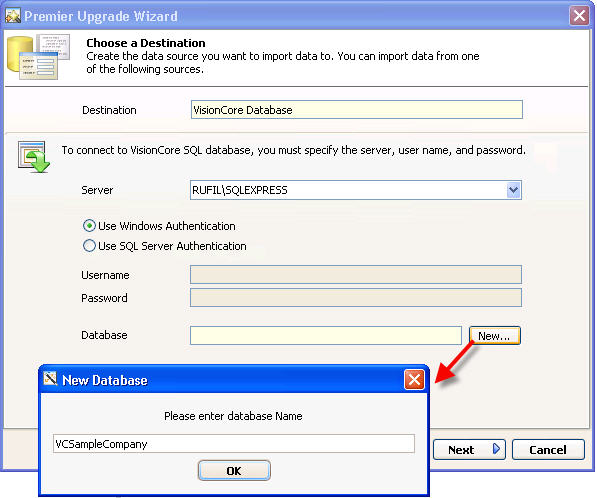
4. CHOOSE A DESTINATION
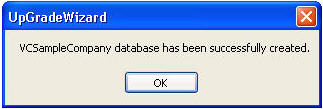
In this page, you will have to create the data source you want to import data to. To connect to a VisionCore Database, you must specify the Server, and User Name and Password, if SQL Server Authentication is selected. You will also need to create a new database where you will import the data to. Click the New Ellipse button next to the Database field to open the New Database form to add a new database name. There will be a confirmation message that will prompt you of the success of the database creation.
Click NEXT to move you to the next page.
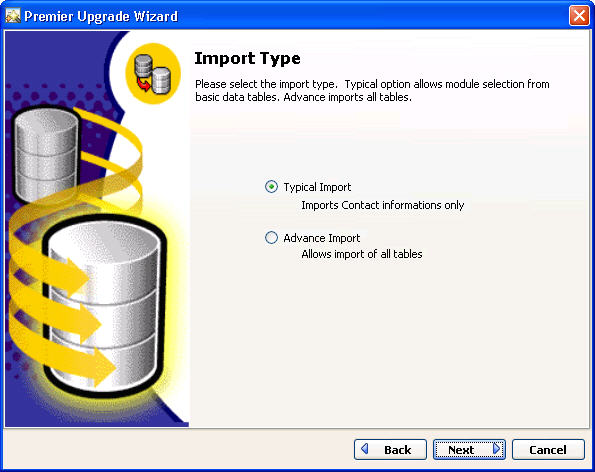
5. IMPORT TYPE
In this page, specify the import type. A Typical Import type will import all Contacts information ONLY while Advance Import type will import all the tables.
Click NEXT to move to the next page.
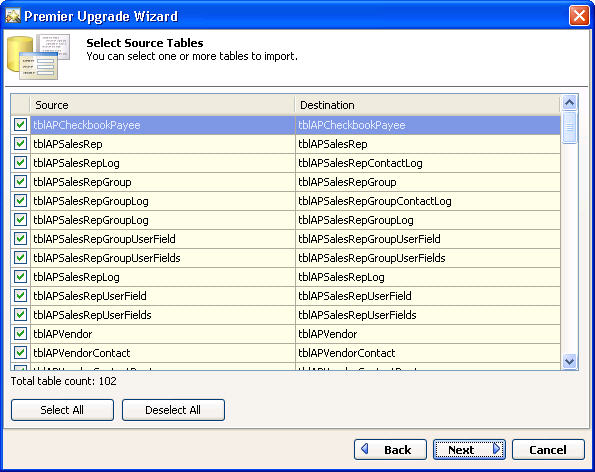
6. SELECT SOURCE TABLES
In this page, you will have to select one or more tables to import. There is also a Select All button, if you want to select all the tables to import.
Click NEXT to continue.
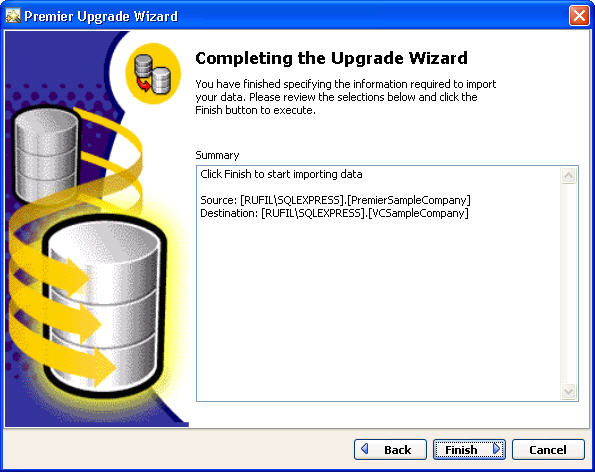
7. COMPLETING THE UPGRADE WIZARD
In this form, you can review the data source and destination you have selected. If you find something is not correct click the BACK button to go back and make changes. If everything is correct then click the FINISH button to start the Upgrade Wizard. Depending on how large your data file is and how fast your computer is will determine how long it takes the Upgrade Wizard to import the data. Typically it only takes several minutes to complete.
After the Upgrade Wizard is finished, another form will open. In this form, you can view the result of the data import by clicking the View Results button at the bottom of the form. This will open the Import Results form where tables that were successfully imported and those that were not imported are displayed.
If you have any problems or some of your tables do not import over correctly you will need to send your data file to Comtech Solutions and we will upgrade it for you.
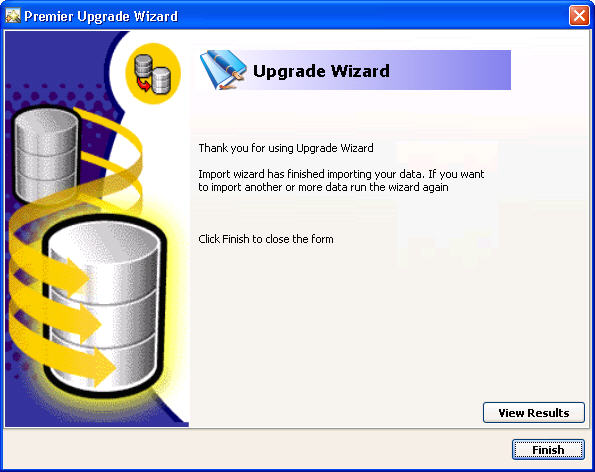
Now you are finished importing your data. Click FINISH to close the form.
B. Updating Transaction Totals
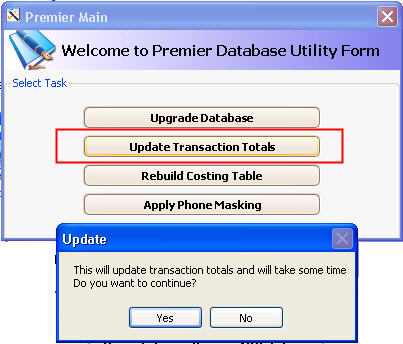
In the Welcome Database Utility form, click Update Transaction Totals. There will be a message that will confirm if you want to update your transaction totals. Click YES to start the update of your transaction totals. Once finished, you will automatically be brought to the Sign In form.
It is recommended to Sign in using your upgraded datafile so that on the succeeding processes such as Rebuilding the Costing Table and Applying Phone Masking, you will not be asked to sign in again, thus making the process easier and faster. The default Sign In is UserName: Admin and Password: 1234
C. Rebuilding Costing Table
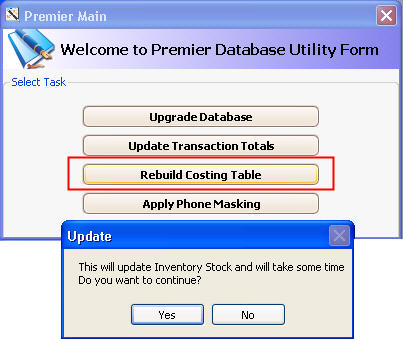
In the Welcome Database Utility form, click Rebuild Costing Table. There will be a message that will confirm if you want to rebuild your costing table. Click YES to start rebuilding the costing table.
D. Applying Phone Masking
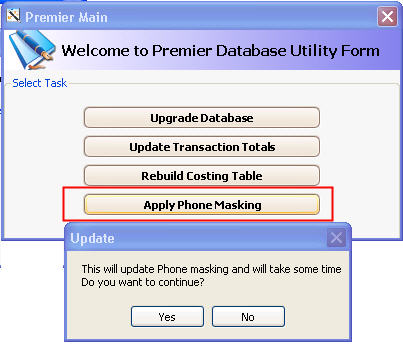
In the Welcome Database Utility form, click Apply Phone Masking. There will be a message that will confirm if you want to update your phone masking. Click YES to start updating the phone masking.
This is used to properly format a phone number like 2815869669 to
(281) 586-9669.