Using Data Utility
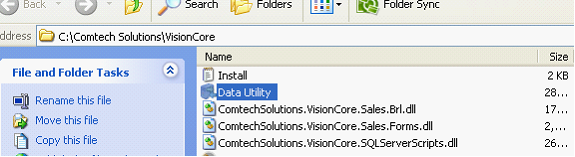
1.Go to your VisionCore installation folder and double click on Data Utility application.
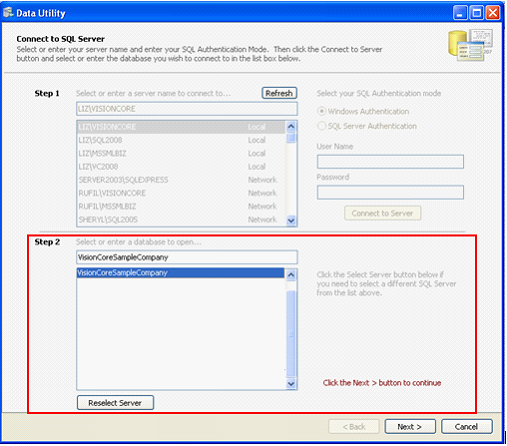
2.Data Utility > Connect to SQL Server form will now open. On Step 1, select the Server and the SQL Authentication mode on the right then click Connect to Server button.

3.For Step 2, select or enter the database to open. Click Next > button.
4.The next form will open the Select Data Type wherein you can select which Data Type option you will need, Destination Table, Source file, Field Delimiter and an optional First Row Contains field name box.
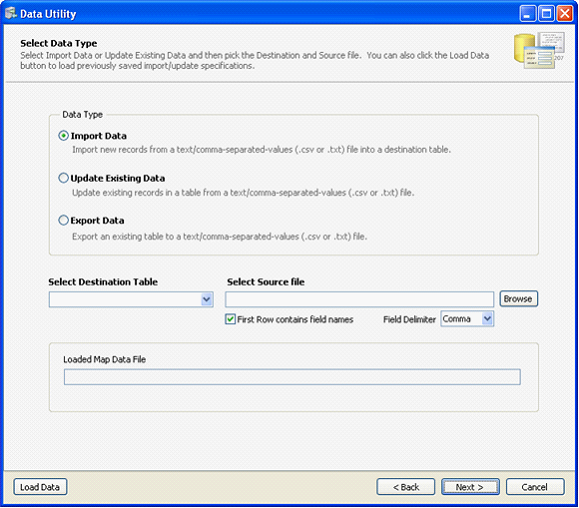
Data Type:
Import Data - Import new records from text/comma-separated-values (.csv or .txt) file into a destination table.
Update Existing Data - Update existing records in a table from text/comma-separated-values (.csv or .txt) file.
Export Data - Export an existing table to a text/comma-separated-values (.csv or .txt) file.
Here is the list of tables you can select on Select Destination Table drop down.
1.Customer
2.Customer Opening Balance
3.Prospect
4.Vendor
5.Vendor Opening Balance
6.Employee
7.Sales Rep
8.Inventory
9.Inventory Adjustment
10.Inventory Assembly
11.Inventory Categories
12.Inventory Pricing Level
13.Inventory Special Pricing
14.Fixed Assets
15.General Journal
16.Ship Via
17.Terms
18.Zip/Postal Code