Setting Up Positive Pay Format
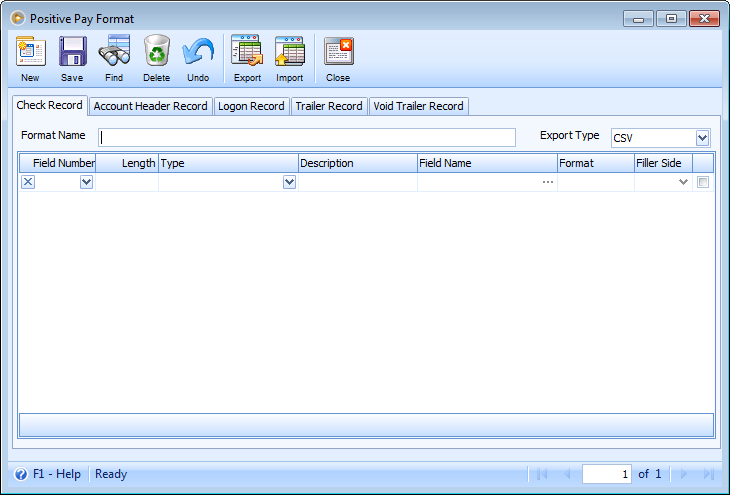
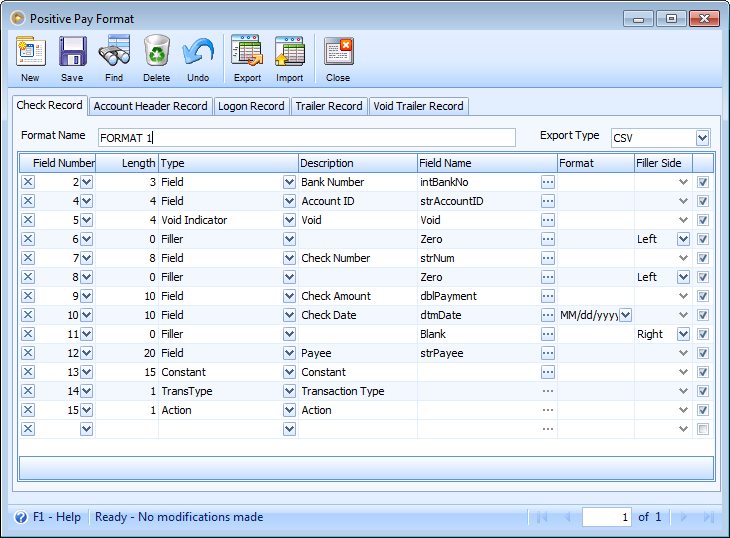
From Accounting module click on Positive Pay Format. When Positive Pay Format form opens, click on New button to create new format. The Export Type field is defaulted to CSV. There is also the Import and Export buttons that you can use to import/export templates for future use or to be used by other templates
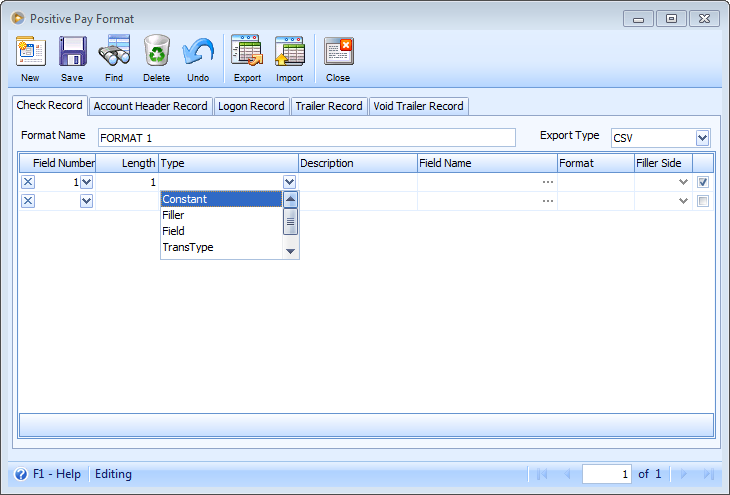
Enter the Format Name and then other details like the Field Number (handles the sorting), Length (or number of character) and Type. Then the Description, Field Name, Format, Filler Side and the checkbox next to the Filler Side column can be configured depending on the Type selected in the Type field.
There are 6 different Type of fields, namely: Constant, Filler, Field, TransType, Action and Void Indicator. Each type is described by example below.
•If Constant is selected in the Type field, clicking the ellipse button on Field Name field will open the Constant Value form where you can enter a constant value.
Example:

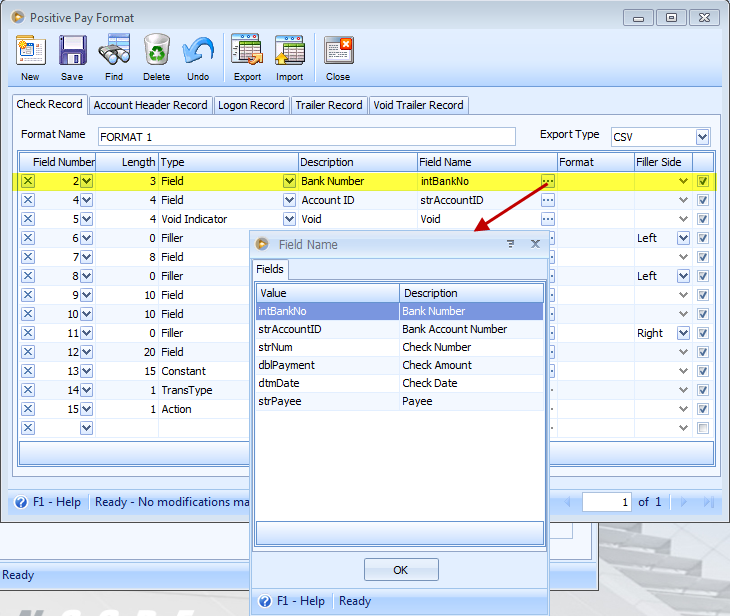
•If Field is selected in Type field, clicking the ellipse button on Field Name field will open the Field Name form and allow you to select significant field.
Example:
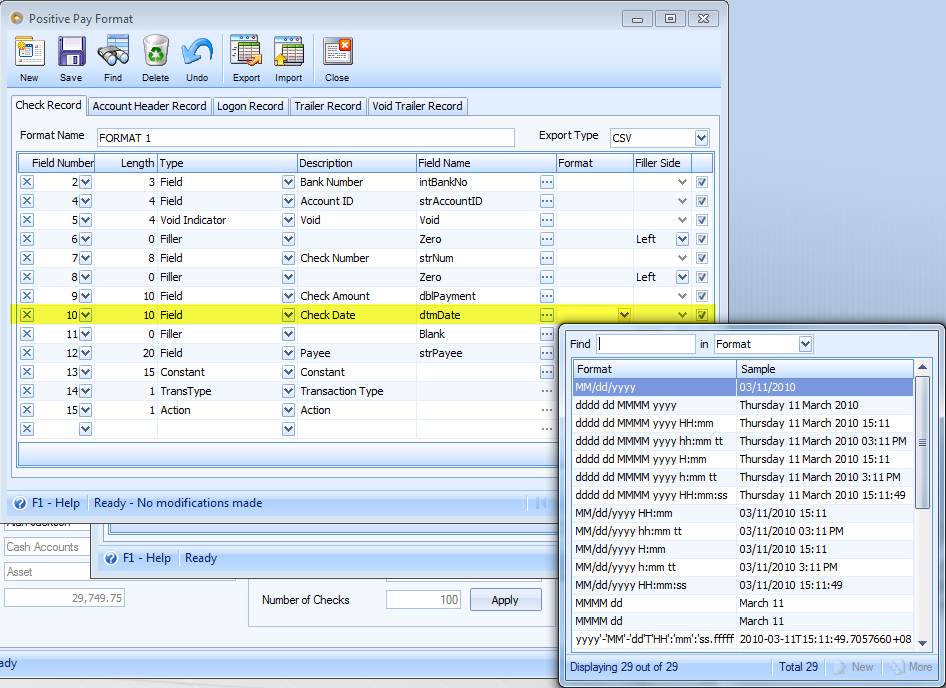
If dtmDate (Check Date) is selected in the Field Name form, then Format field will be enabled allowing you to select date format. Just click the drop down button and a list of accepted date format will be shown.
Example:
•Filler type is used to take the spaces if the following sections are less than the specified size. Fillers can either be Blank or Zero.
Example:
If Filler is selected, it will take the length of the next row, e.g., if the positive pay format require the Check Amount to take up 10 characters and the check amount is only 7 characters, you have to add a filler field before the Check Amount field and that filler will take the 3 remaining characters. You can also specify whether the filler will be on the left or right side and the value of the filler (i.e., blank or 0).
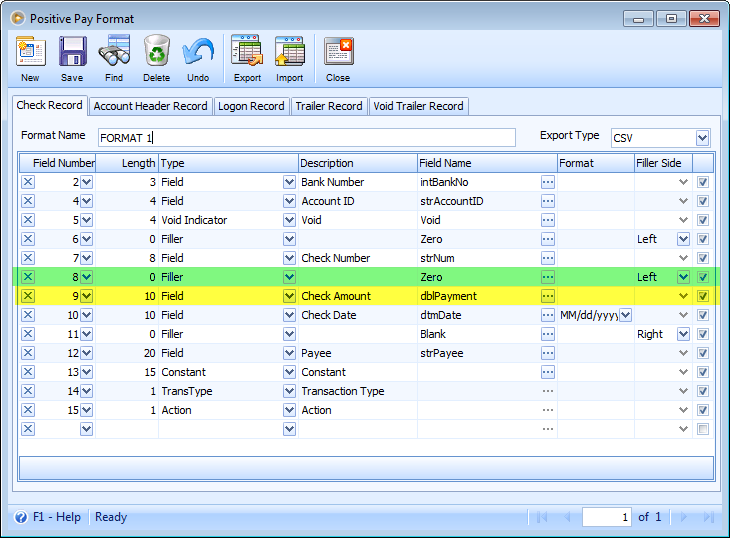
The Filler Side field works only when Type selected is Filler. In the above example, if check amount is 100.25, and Check Amount is set to have 10 characters, and Filler Side is Left then this is how it would be shown in a TEXT export file. The zeroes are shown at the left of the check amount to complete a total of 10 characters.
The Check box next to Filter Slide combo box field indicates whether or not the field is to be included on the final csv or text result.
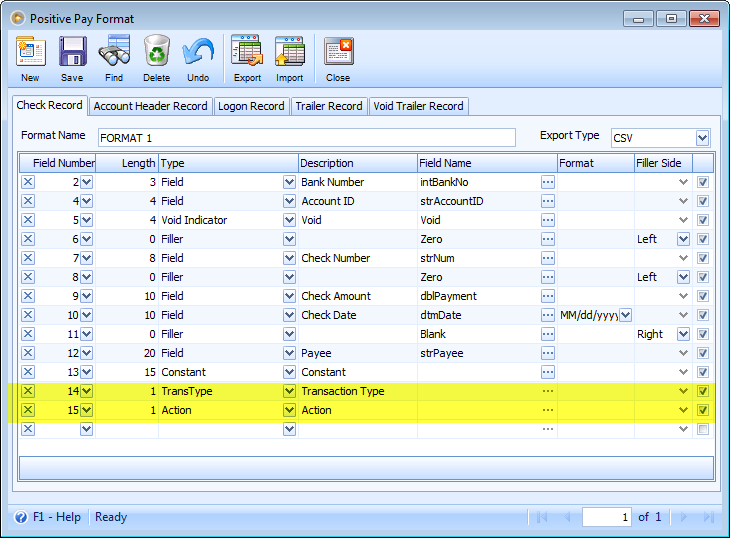
•If TransType is selected, then VisionCore will check whether the check is void or not. If Void then ‘V’ will be shown in the Field Name, if it isn’t then it will show ‘R’.
•Action type enables you to modify resulting csv or text file. This type is also defaulted to ‘A’.
Example:
After you finished setting up the detail format click on Save button.
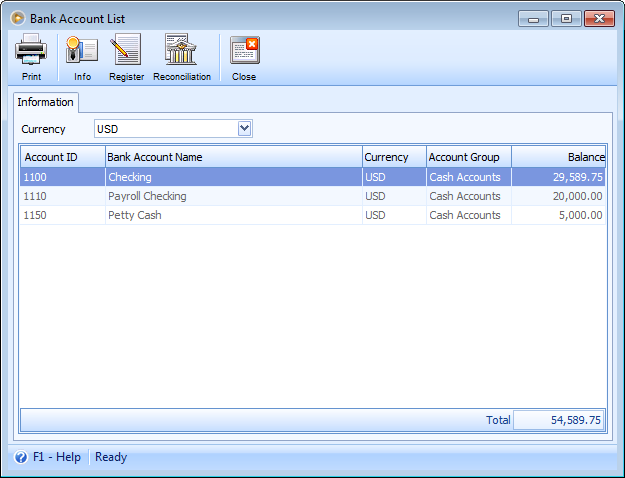
Then go to Accounting menu and select Bank Account List. The Bank Account List form will open. Highlight an Account ID that you would want to set the previously created Positive Pay Format and click on Info button.
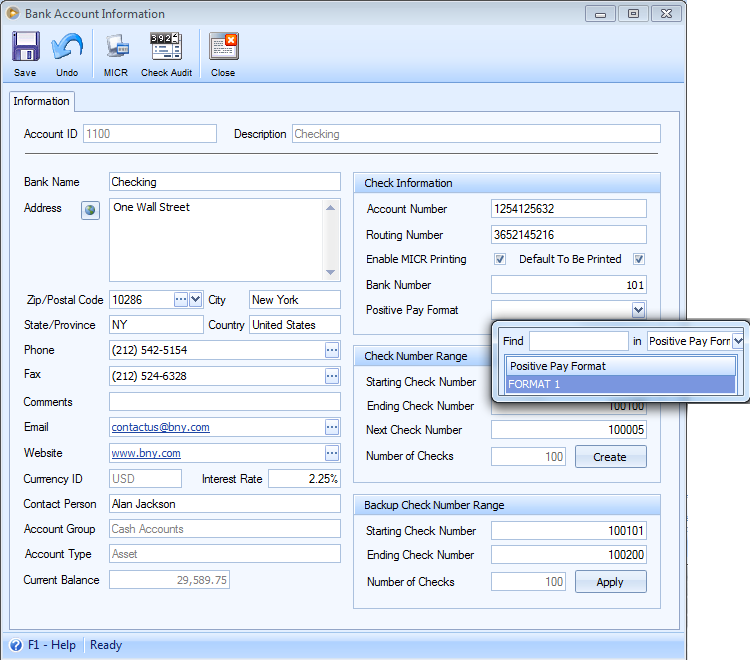
The Bank Account Information form will open. Bank Number is required (this will be display in the result if you have selected Bank Number from field list. Click on Positive Pay Format drop down button to select the created format then click on OK button.
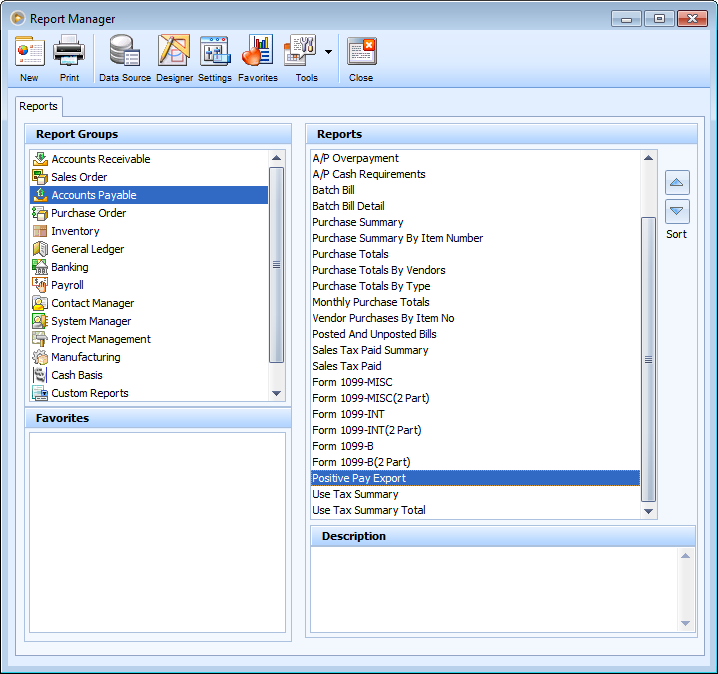
Now go to Report module, select Accounts Payable report group. Double-click on the Positive Pay Export report.
When the Process Positive Pay form opens, you may select the Bank Account and specify the Date From & Date To.
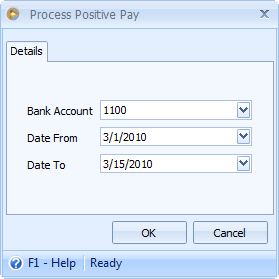
Click OK and the Checks will be displayed. You can select checks to be exported by checking Export checkbox. Default Export Type can be changed from CSV to Text if needed. The Exported check box indicates whether the check has been already exported though you can still select the check to export again.
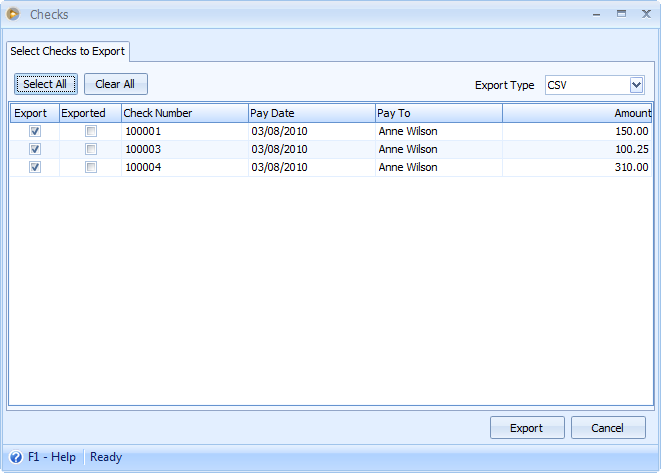
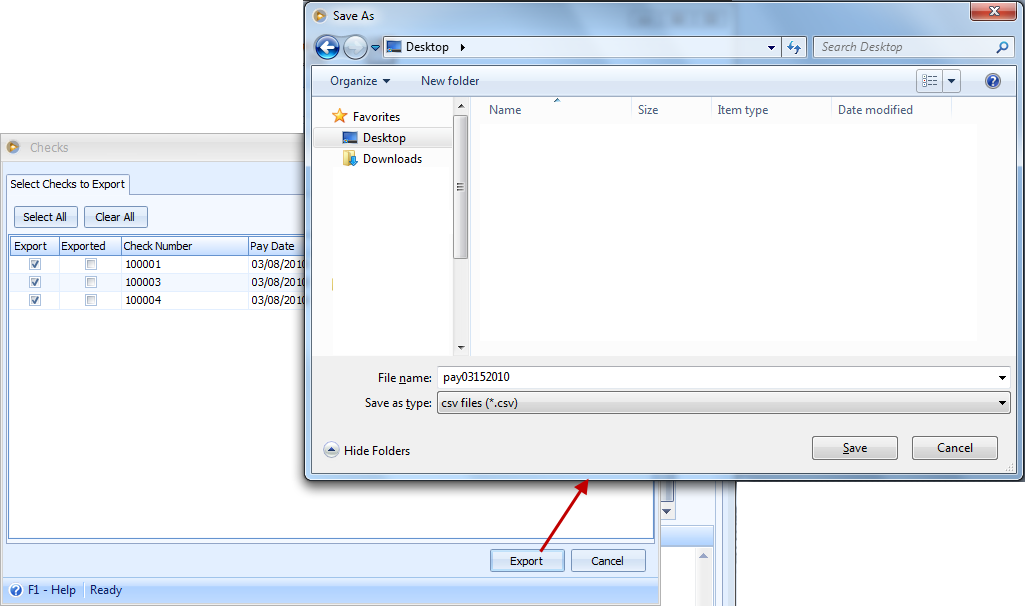
After selecting particular checks to be exported, click on Export button. Save As form will open for you to specify the file location and the file name for the exported CSV or TEXT file.
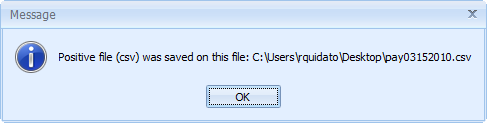
After clicking Save button, notification message will be displayed.
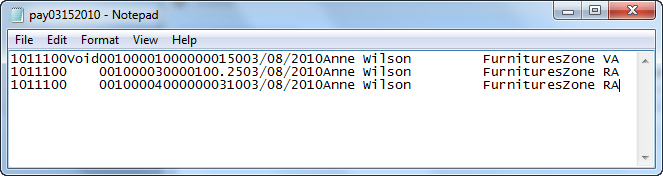
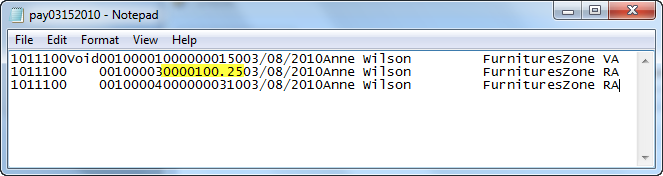
Viewing the exported CSV file.
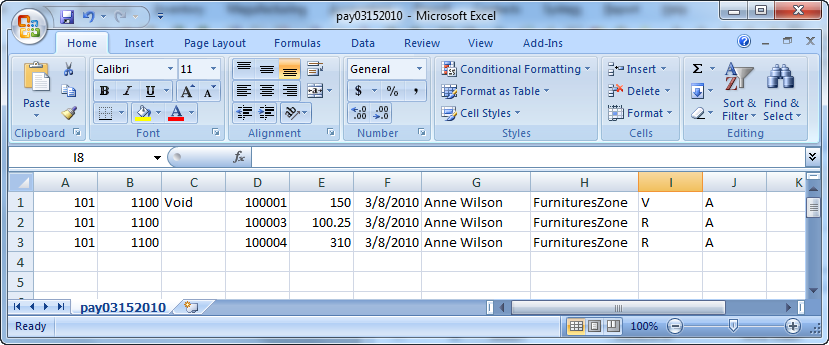
Say you selected to TEXT in the Export Type field. Here is how the exported TEXT file will look like.