Pay foreign bills using base/local bank account
The following will show you how to pay foreign bills using base or local currency.
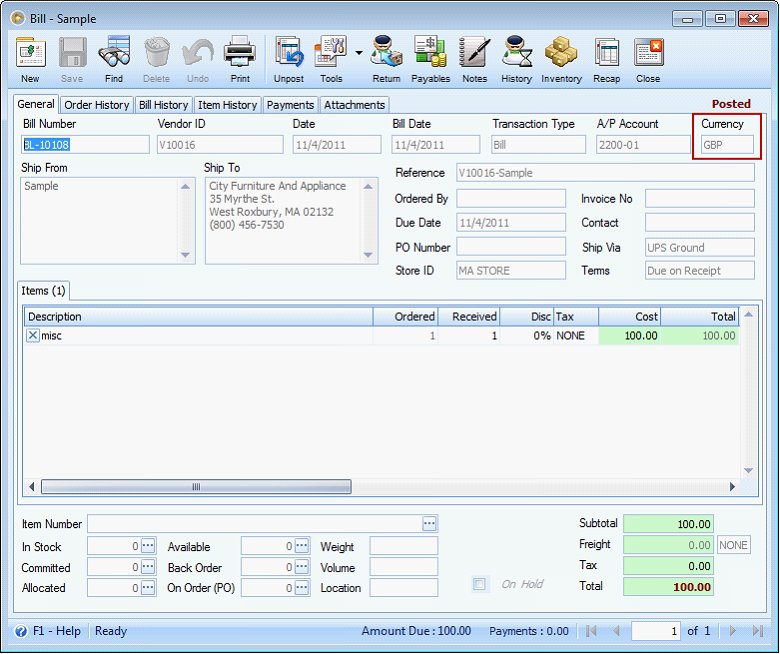
1.Create a bill using foreign currency.
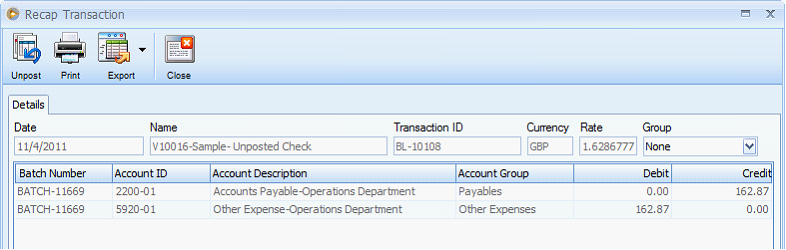
![]() Note that even the transaction is using foreign currency, the recap will still show entries converted to base currency.
Note that even the transaction is using foreign currency, the recap will still show entries converted to base currency.
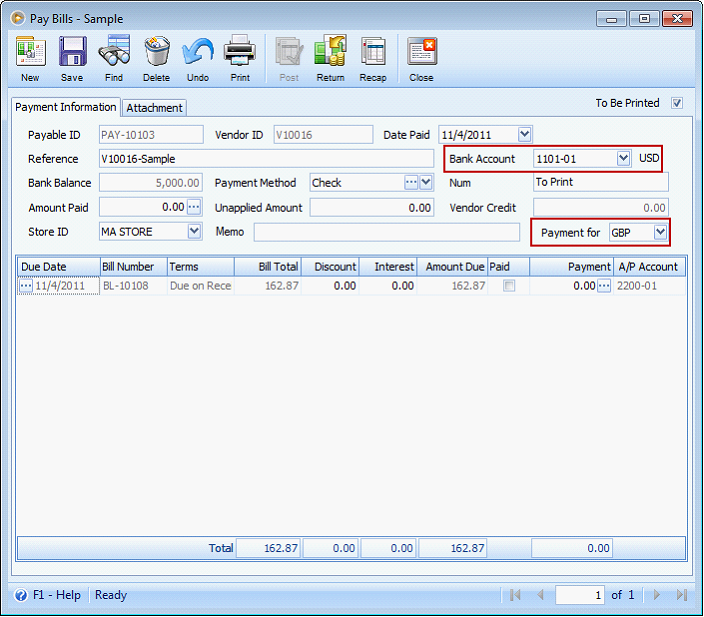
2.Pay the bill using base or local bank account.
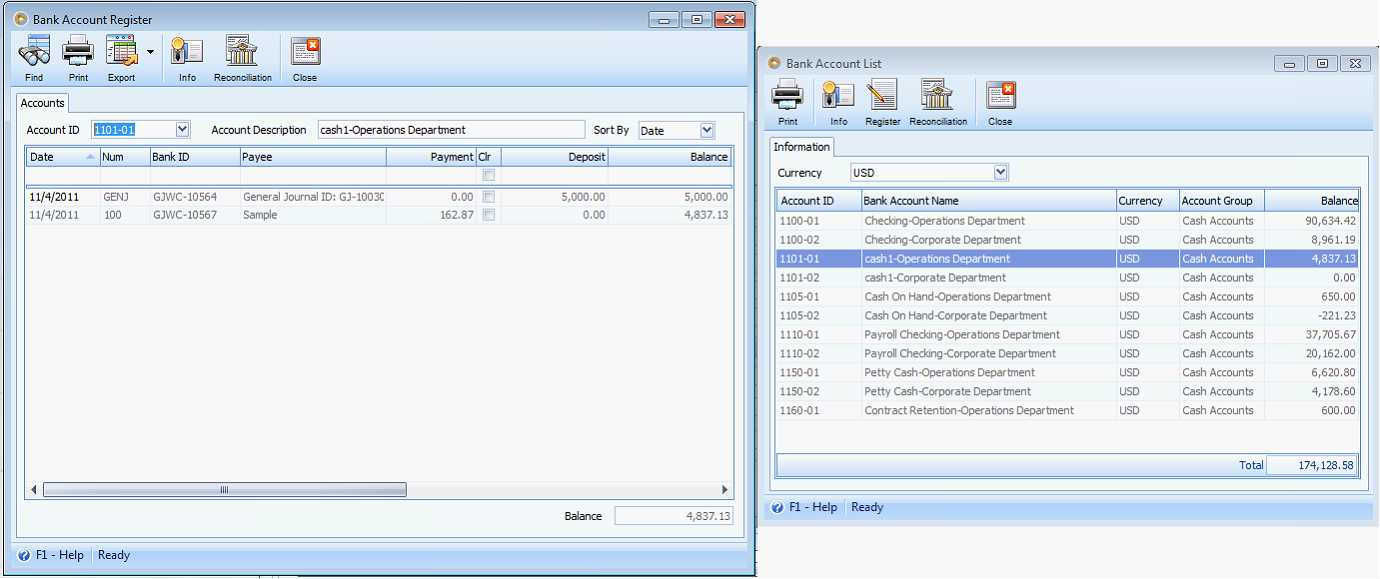
This is the cash account we will use in this illustration.
Let us explain how Bank Account and Payment for fields should be used.
![]() Bank Account field will allow you to select a bank account where the fund in paying the foreign bill will be coming from. As soon as an account is selected, the currency for that account will be shown right next to it. In that way, you always know the currency of the bank account being used.
Bank Account field will allow you to select a bank account where the fund in paying the foreign bill will be coming from. As soon as an account is selected, the currency for that account will be shown right next to it. In that way, you always know the currency of the bank account being used.
![]() Payment for field determines the bill or purchasing transactions to display on the grid area. This depends on the currency selected. If base currency is selected on this field, then only bill or other purchasing transactions created using the base currency will be shown. If foreign currency is selected, then only bills or other purchasing transactions created using the said foreign currency will be shown.
Payment for field determines the bill or purchasing transactions to display on the grid area. This depends on the currency selected. If base currency is selected on this field, then only bill or other purchasing transactions created using the base currency will be shown. If foreign currency is selected, then only bills or other purchasing transactions created using the said foreign currency will be shown.
Now how are the two fields relate to each other?
![]() If Bank Account selected is in base currency and Payment for field is set as foreign currency, then bills or other purchasing transactions created using the said foreign currency will be displayed in the grid area BUT amounts will be converted in base currency.
If Bank Account selected is in base currency and Payment for field is set as foreign currency, then bills or other purchasing transactions created using the said foreign currency will be displayed in the grid area BUT amounts will be converted in base currency.
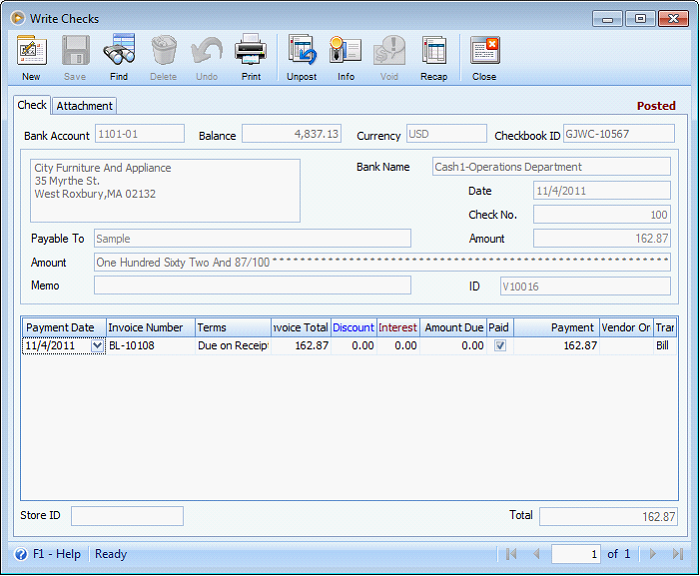
In this example, the Bill created is 100.00 GBP but since this bill is to be paid using a bank account in base currency, then instead of showing 100.00 GBP, it will be shown as the converted value to base currency, which is 162.87 USD.
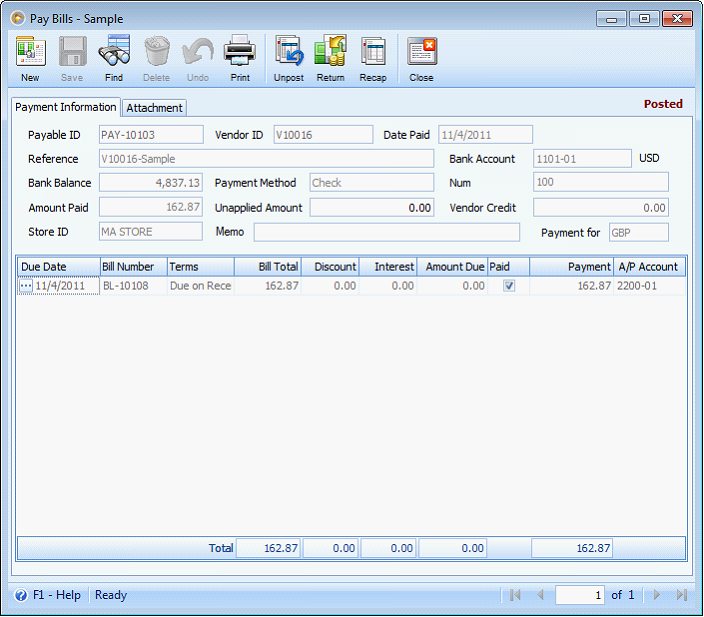
Here is how it will be shown after posting it.
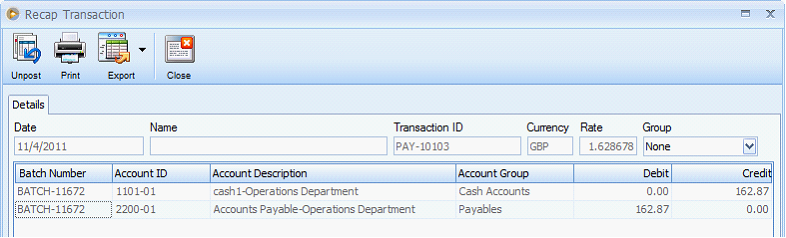
And here is the recap for this payment transaction shown in base currency, as always.
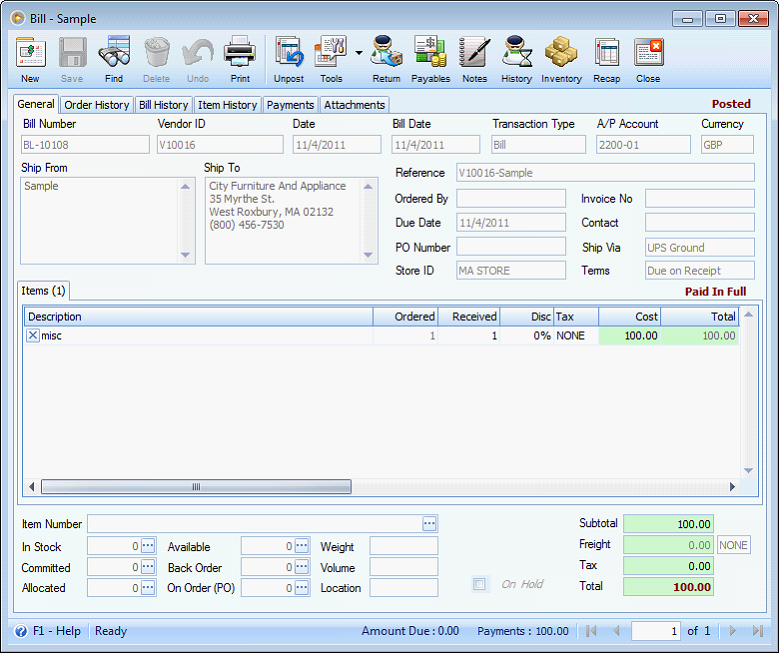
Going back to the bill transaction, it will now show as Paid in Full.
Here is how the write check created will look like.
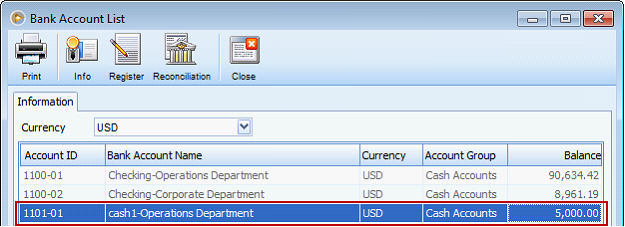
And here is how banking forms will be shown as per the bank balance.