How To Import Time Clock Hours From TimeClockPlus to VisionCore
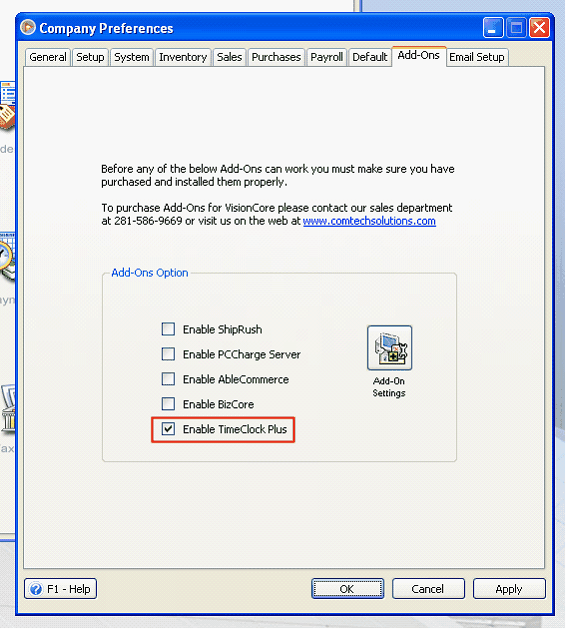
1.From the Company Preference Menu > Add On tab, click on the Enable TimeClockPlus checkbox to enable it. Then click on Apply button.
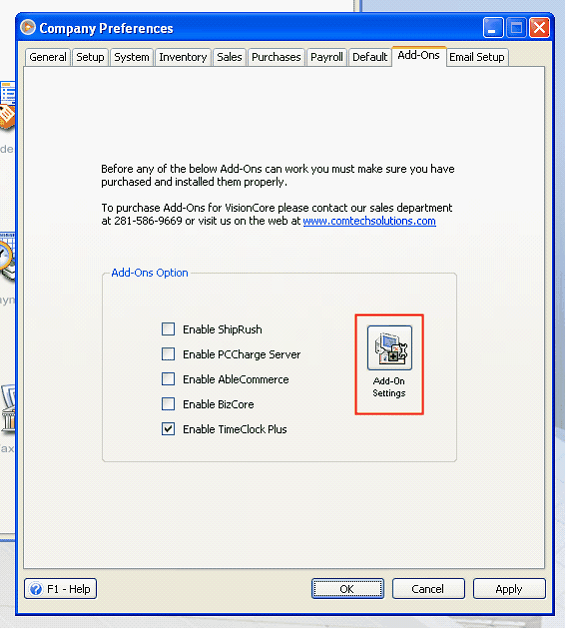
2.Click on the Add On Settings button to open the SQL Server Connection settings of the TimeClock Plus Database.
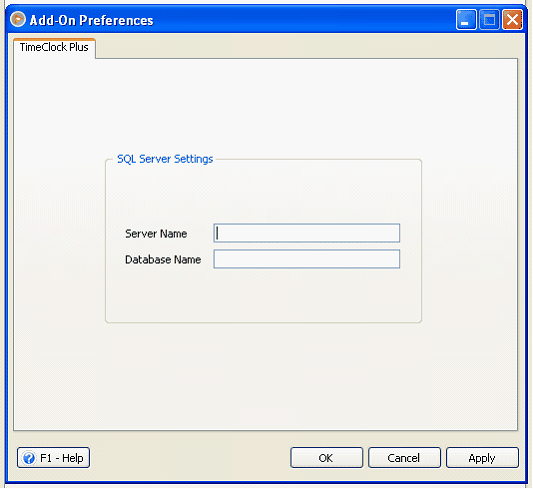
Enter the Server Name and instance of the SQL Server where the TImeClock database is located. Enter the Database Name of the TimeClock Plus database. Then click on OK.
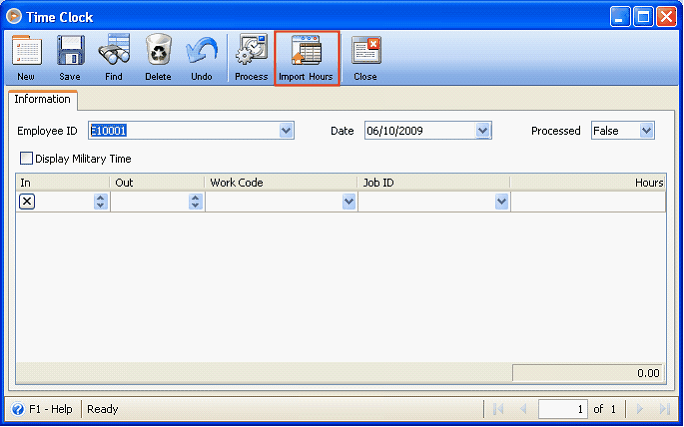
3.A New Import Time Clock Plus button will be visible in the Time Clock Form when the Time Clock Plus option is enabled in the Add -on Preference form. Click on this to open the Time Clock Synchronization Form.
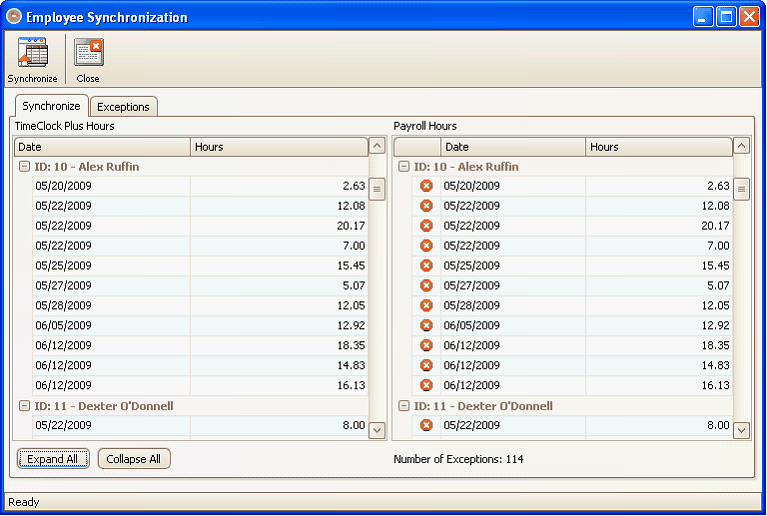
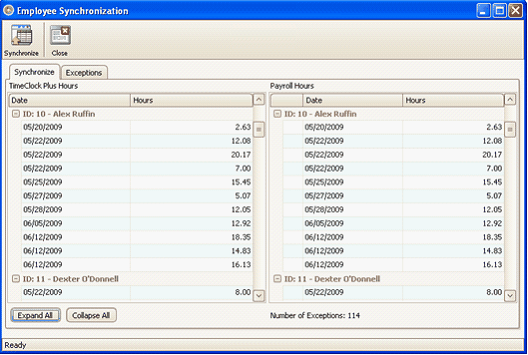
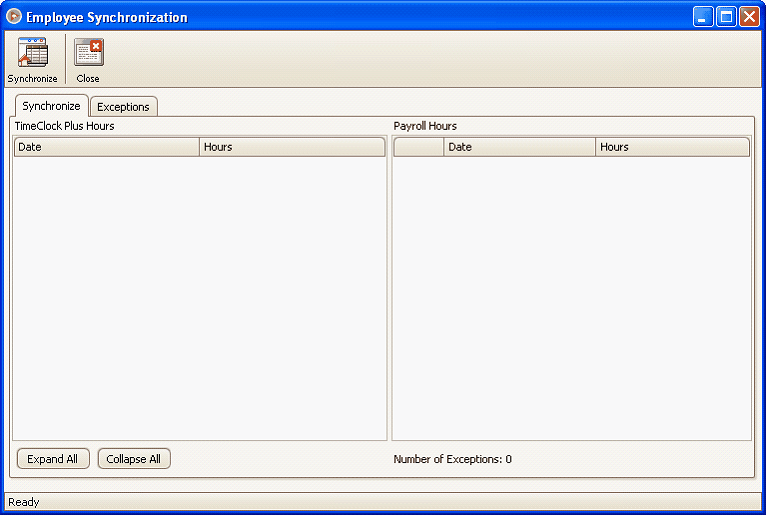
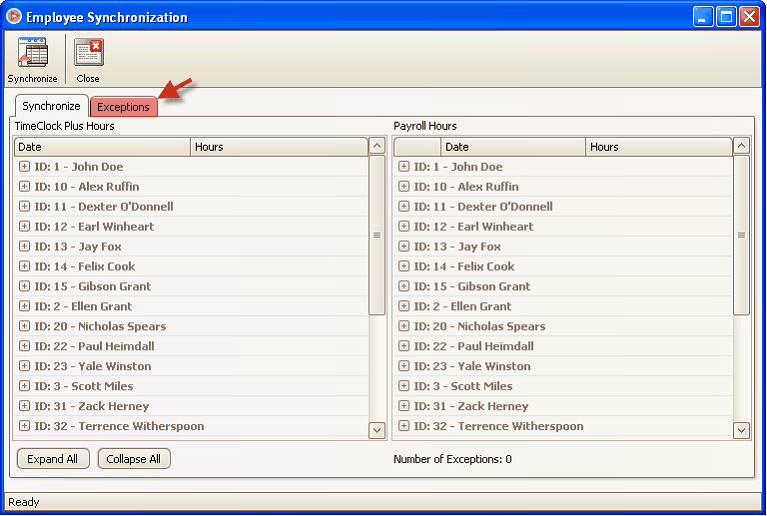
4.Synchronize tab shows all the existing Time Clock Records on the Left Grid and all VisionCore Time Clock Hours in the Right Grid. Exceptions are indicated by an “X” mark on the first column of the VisionCore Hours.

User has the option to expand or collapse the grids. By default, these grids are collapsed. The numbers of exceptions from all the line items are also shown on the lower right part of the form.
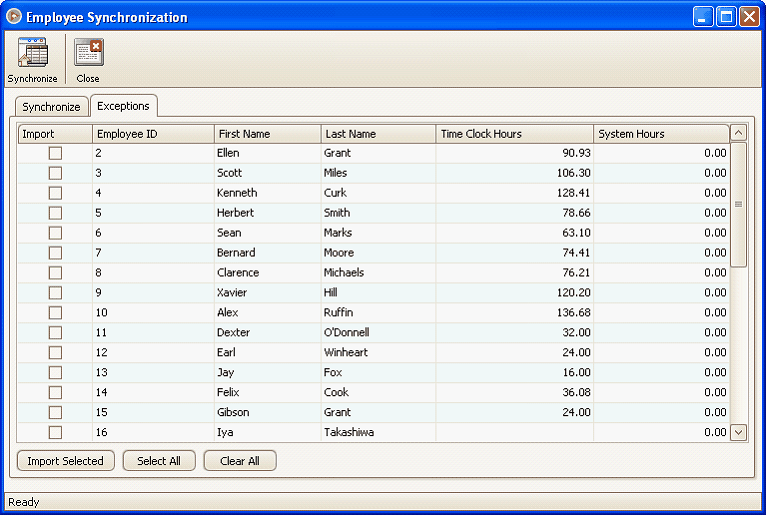
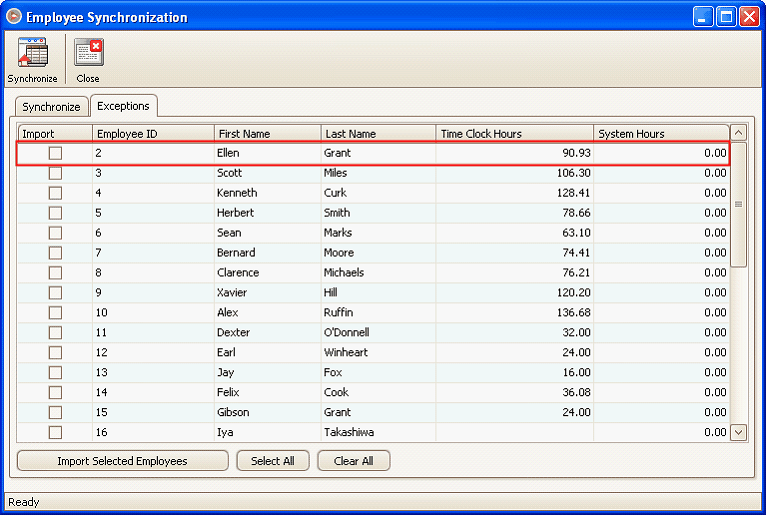
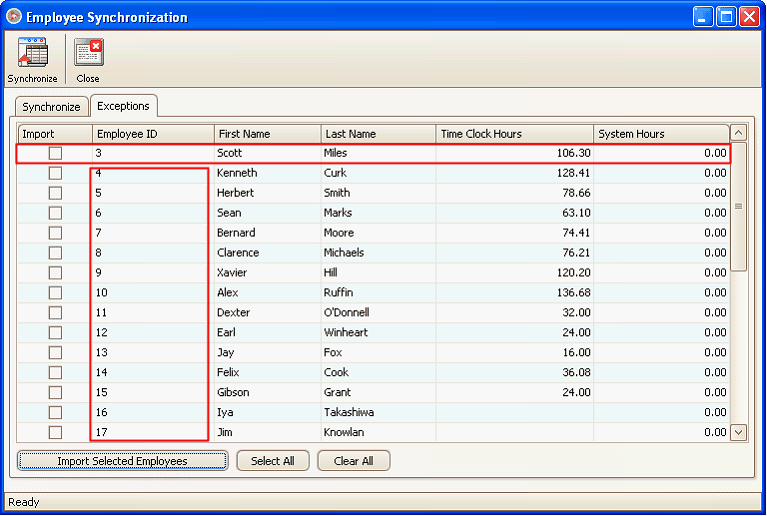
5.The Exceptions Tab displays all Employee Hours on the TimeClockPlus database in comparison to the ones in VisionCore. Only exceptions are shown in this tab as indicated from the Synchronize tab. As of now, only non existing employees are considered as an exception.
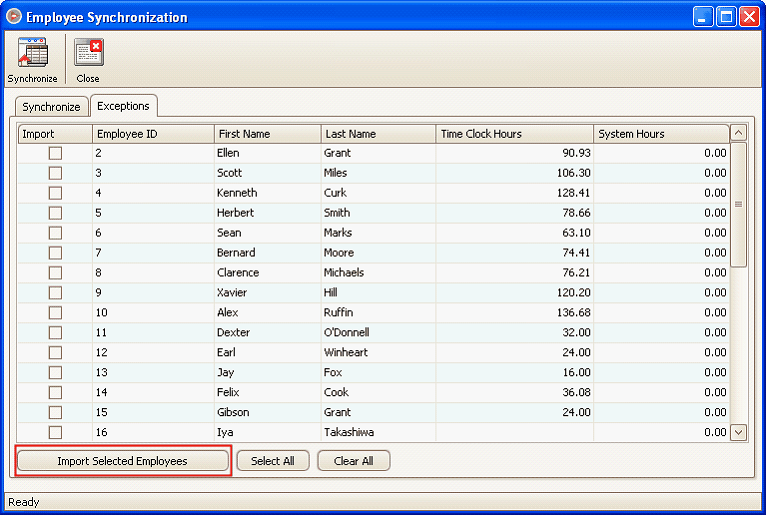
6.Import Selected Employees Button on the Lower Left hand corner of the second tab will import selected Employees Info into VisionCore. This will be excluding their time clock hours.
7.The Synchronize button at the Toolbar Buttons will import all Employee Time Clock Records into VisionCore, considering that the right side grid has no exceptions. An error message will inform the user that Synchronization will not be allowed on data that has exceptions.
8.Users may only synchronize the entire batch of data. There are no options to synchronize only selected time clock hours. Once synchronized, these Time Clock hours will no longer be displayed on the Synchronization Form.
![]() Note:
Note:
![]() All previously synchronized data into VisionCore will be intact even if synchronization takes place again and again.
All previously synchronized data into VisionCore will be intact even if synchronization takes place again and again.
![]() When a previously synchronized data is edited on the Time Clock Manager application, the synchronization form will allow these data to be synchronized again, considering that the Time In, or Time Out has changed. The previously synchronized data will still be available, thus, seemingly duplicating the data.
When a previously synchronized data is edited on the Time Clock Manager application, the synchronization form will allow these data to be synchronized again, considering that the Time In, or Time Out has changed. The previously synchronized data will still be available, thus, seemingly duplicating the data.
![]() All data taken by VisionCore Synchronization Form are only the data from an open Week Period from TimeClock Plus.
All data taken by VisionCore Synchronization Form are only the data from an open Week Period from TimeClock Plus.
Example:
After enabling TimeClockPlus on Add-On Settings, open Time Clock form under Payroll Module then click Import Hours button.
This form will be opened. Select Exceptions tab.
You can select one Employee with the specific date from the given TimeClockPlus to import by clicking the Import Selector checkbox; or click Select All button to include all the existing Employees.
After you select an Employee, you may now click the Import Selected button for the Message Validation to appear as shown below. Click OK button.
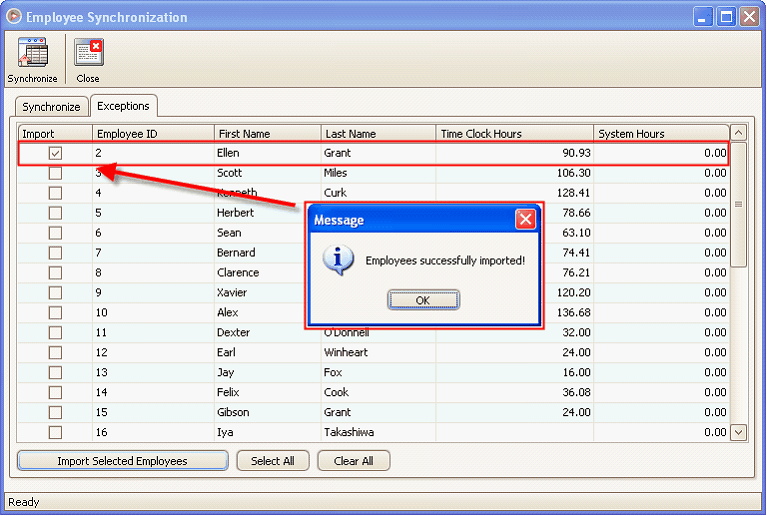
The Exception List will reload and you’ll notice that the imported employee will be gone. This means that Employee ID: 2 is now already included in Employee Setup.
All exceptions must be handled before synchronization can be allowed. As of now, only Non-existing employees are considered as an exception. So this means that all employees must first be imported before proceeding with the Synchronization.