How to Export Contacts from VisionCore to Outlook
I. How to Export Contacts from VisionCore
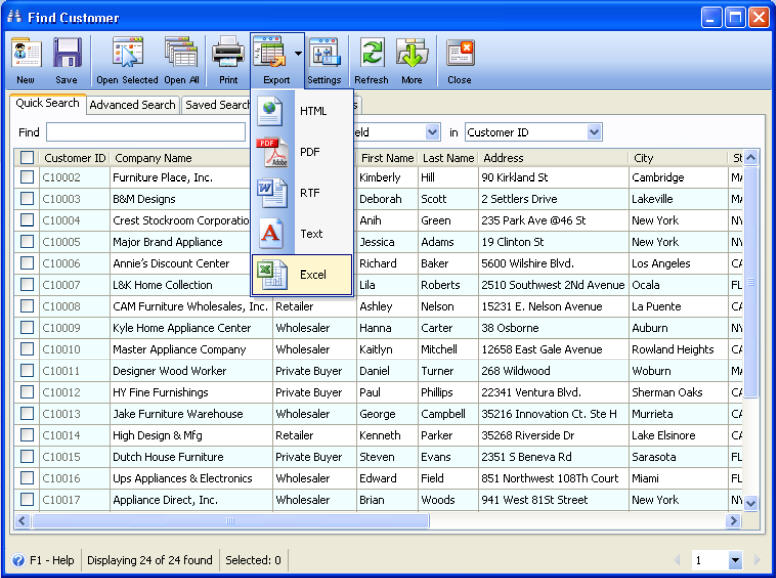
1. On Find Customer screen, click Export pull down menu then click Excel button.
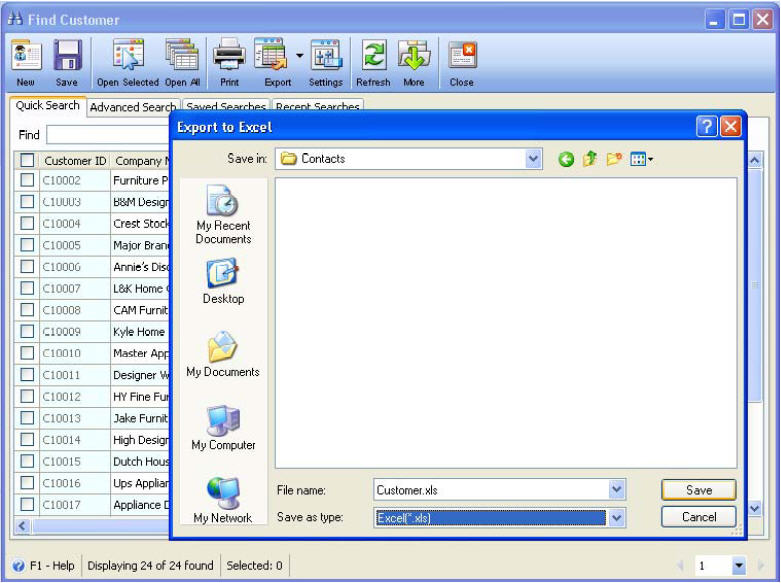
2. When Export to Excel screen opens, enter a file name and click Save. (e.g. Customer.xls)
This message will be displayed once exporting is successful.
3. Open the exported excel file and on File Menu click Save As.
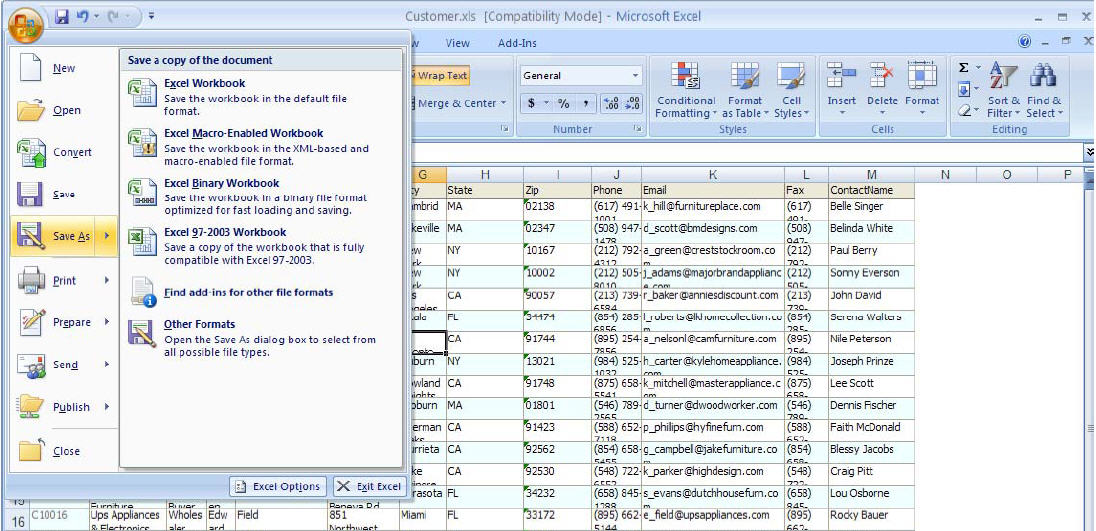
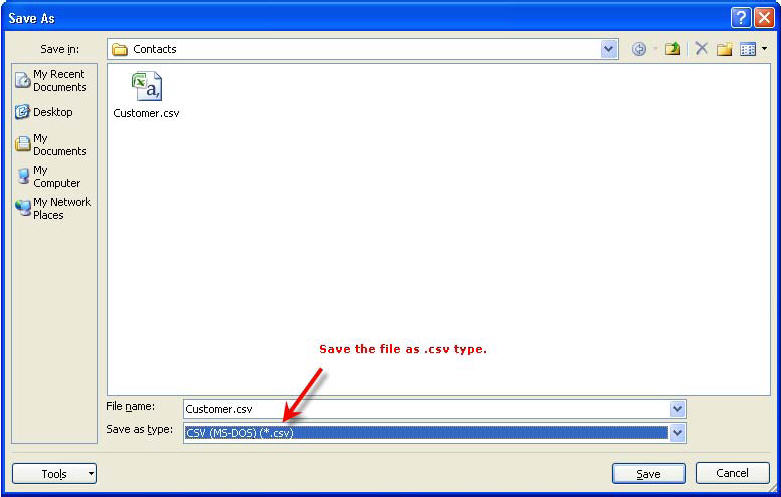
4. Then when Save As screen opens, save the file as .csv type.
Here are few reminders before exporting:
1. If you want to add/remove some fields to your Find Customer screen before exporting contacts, just add/remove fields from available fields of Find Form Settings.
To access the Find Form Settings, simply click the Settings button on Find Customer.
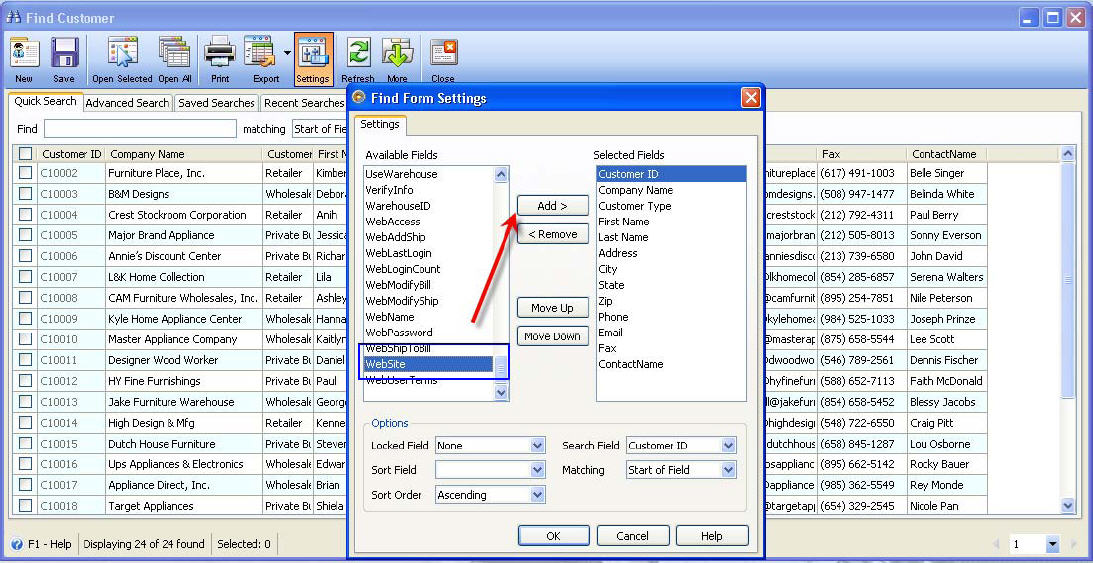
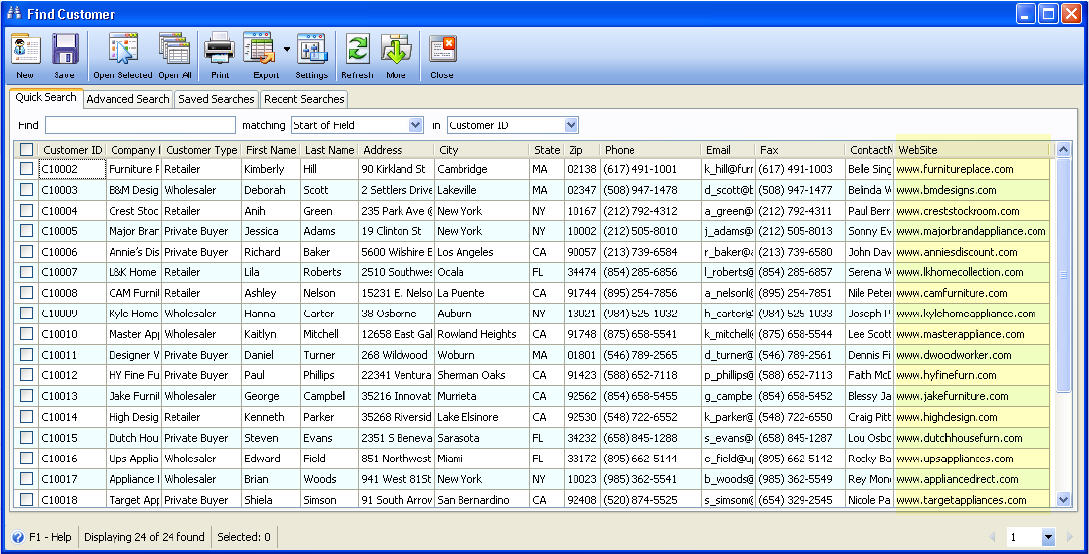
In the example above, notice that Website is added in the Find Customer form
2. Take note also the number of records displayed before exporting contacts. The number of records displayed in the Search form is based on the User Preferences > Set up Tab > Default records to Retrieve.
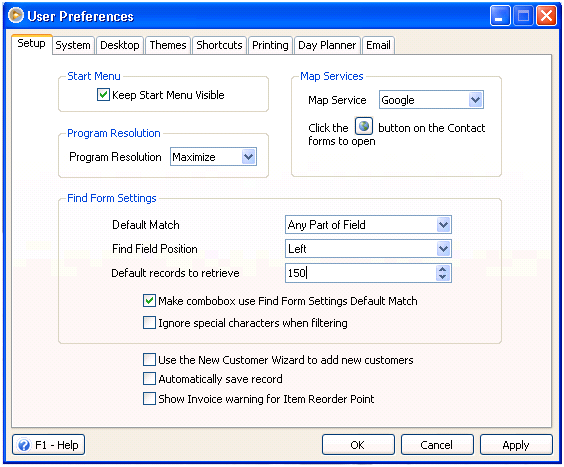
So if you want the exported Excel file to display all record, adjust the maximum number to display in User Preference screen.
II. How to Import .CSV file to Outlook
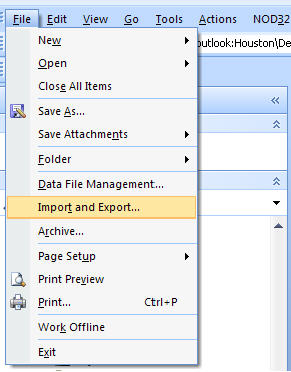
1. On your Outlook, go to File Menu and click Import and Export.
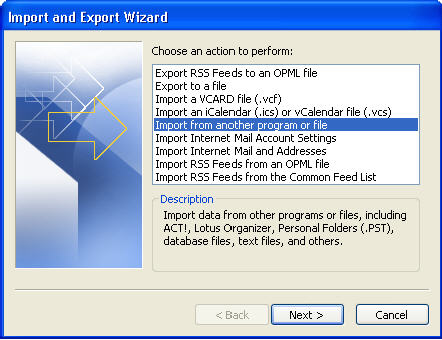
2. Highlight Import from another program or file then click Next.
3. Select Comma Separated Valued (DOS) and then click Next.

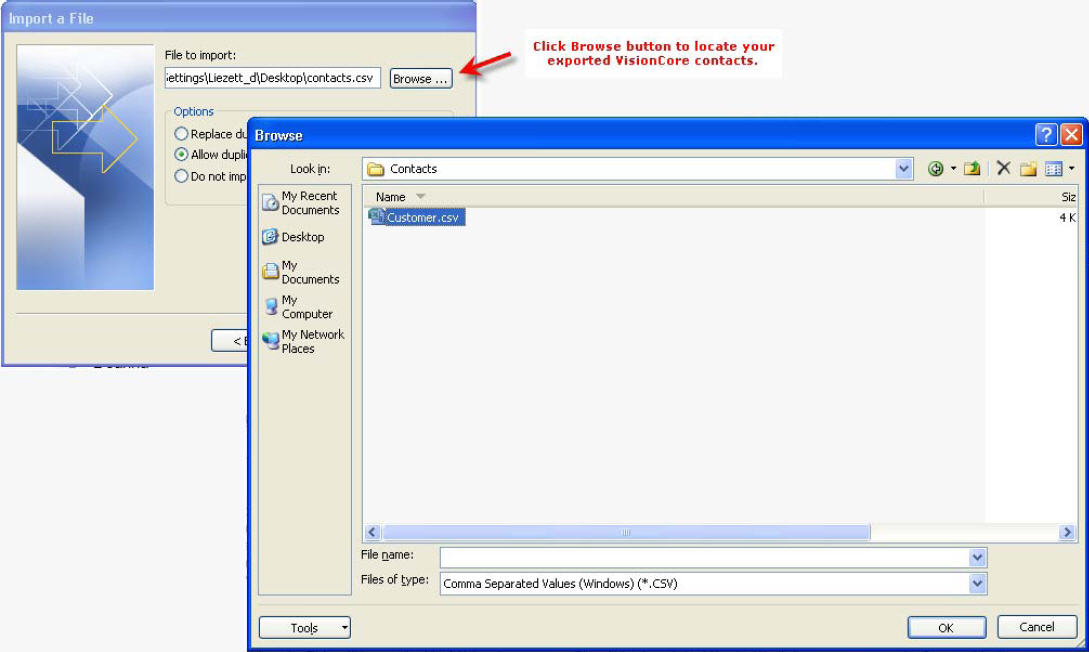
4. On the next screen, click Browse button to locate your exported VisionCore contacts.
5. Select Contacts folder and click Next.

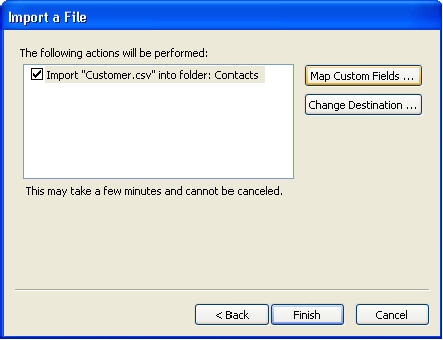
6. Make sure to check the Import checkbox then click the Map Custom Fields button.
7. On Map Custom Fields form, you will need to drag the values from the left (VisionCore values) and drop it to Microsoft Office Outlook Contacts on the right.
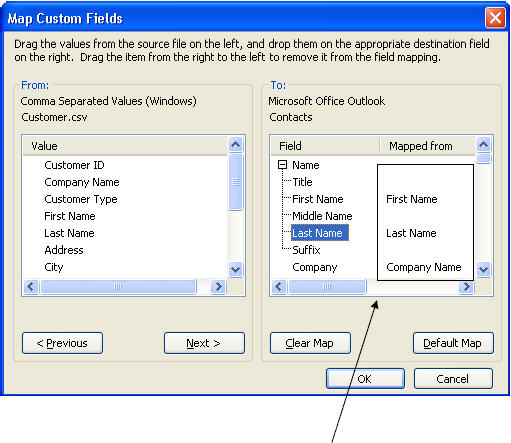
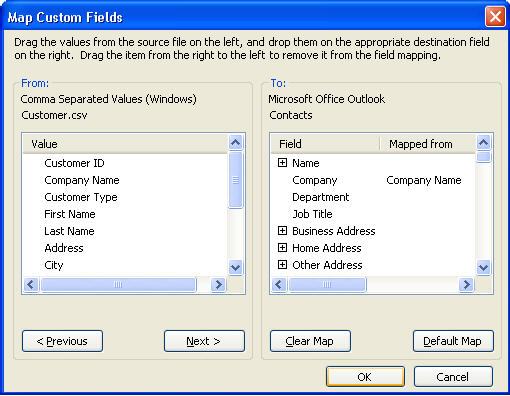
In the above screen shot, you will notice that First Name, Last Name and Company have been dragged and dropped to the right column.
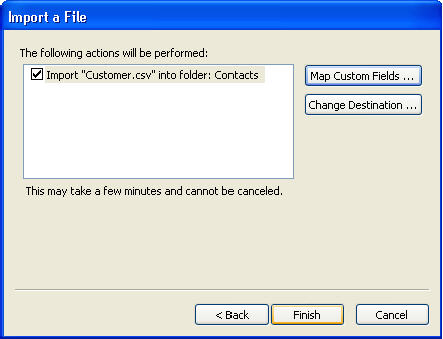
8. Click OK if you are done with the mapping of all values.
9. Lastly, click Finish button so Outlook could start importing.
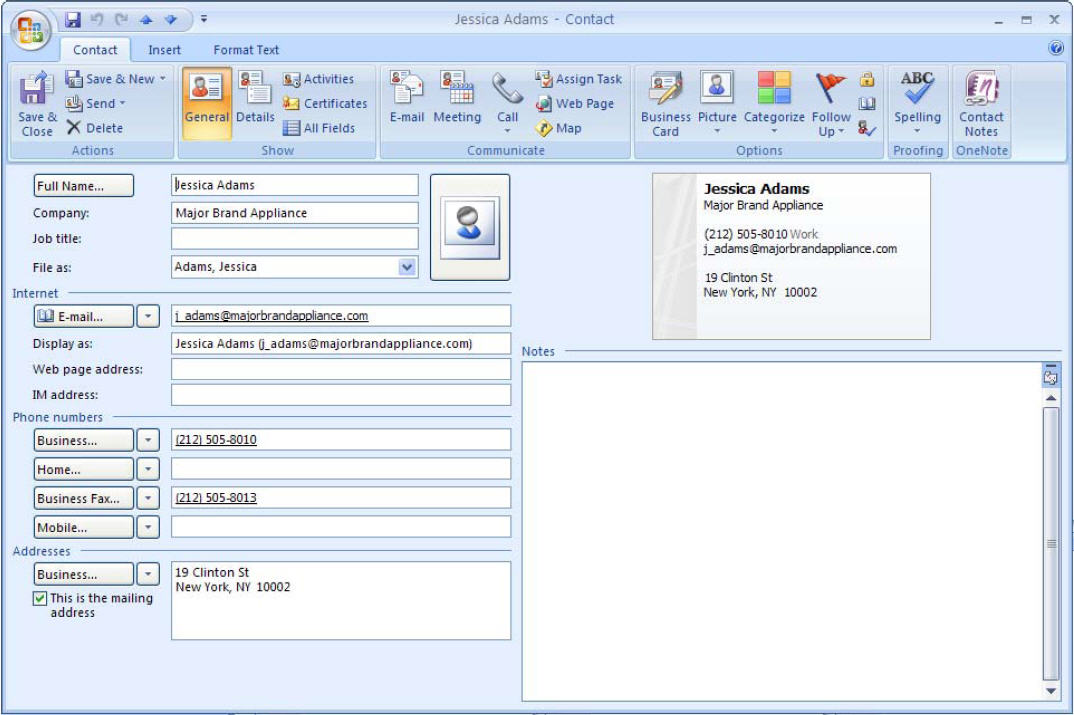
Here’s a sample output of how your contact will look like when you view it from Outlook > Go pull down menu> Contacts.