Main
Menu Overview
The Main Menu in Image Accounting is very powerful and full of time
saving features. There are many features
which will be explained in this article.
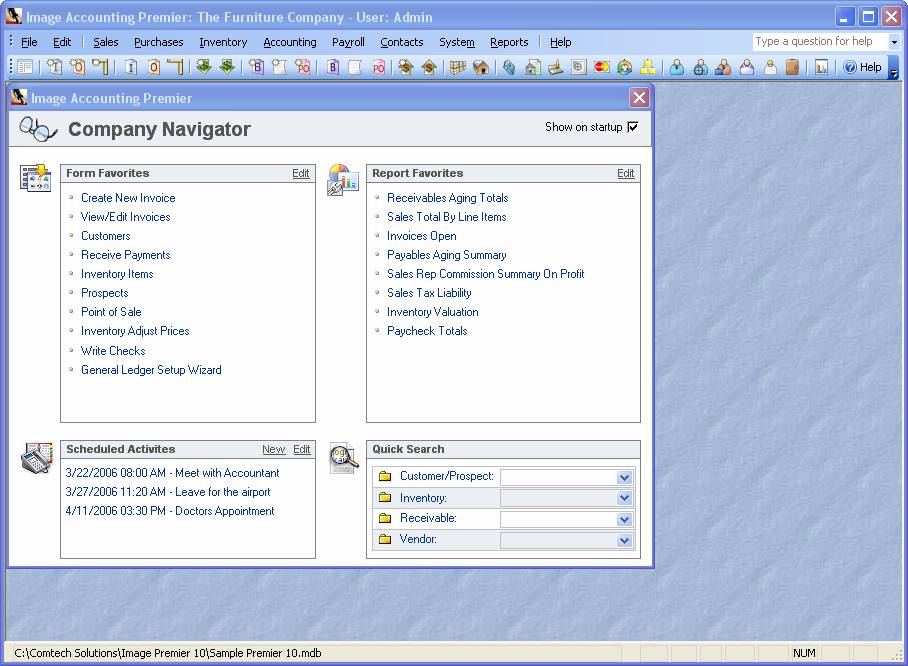
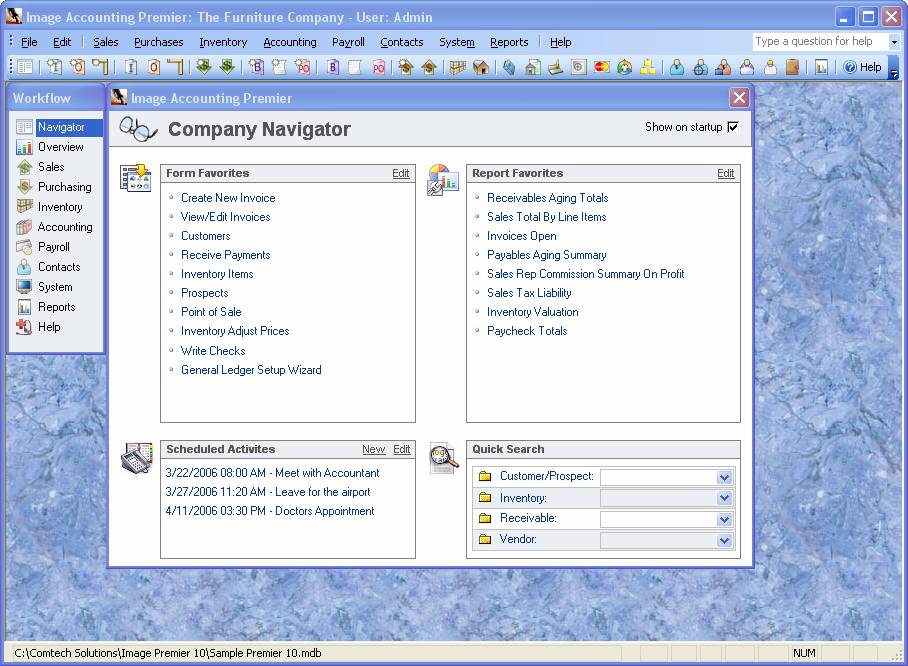
When first loading Image Accounting, the Company Navigator menu will
appear displaying Form & Report Favorites, Scheduled Activities and Quick
Search tailored to the specific user logged in.
Each user can customize the Form Favorites section to display up to 12 of their most frequently
used forms by clicking the Edit link. Each user
can also customize the Report Favorites section to display up to
12 of their most frequently used reports by clicking the Edit link.
For
example, if a user working in the AR department logs in, they will be able to
display the forms and reports they use the most saving time navigating through
the menus. The Company Navigator will
also display the users upcoming scheduled activities.
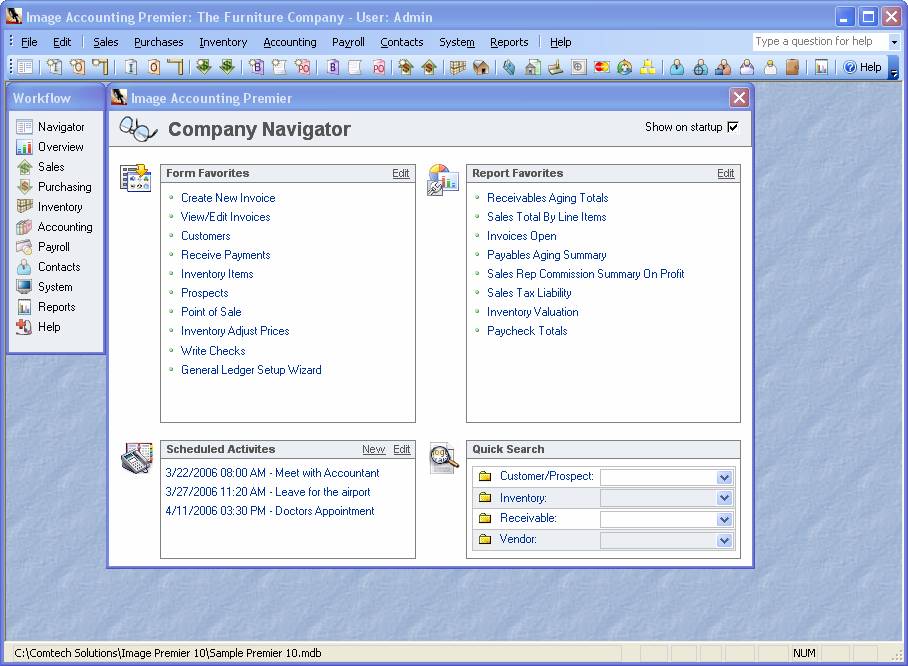
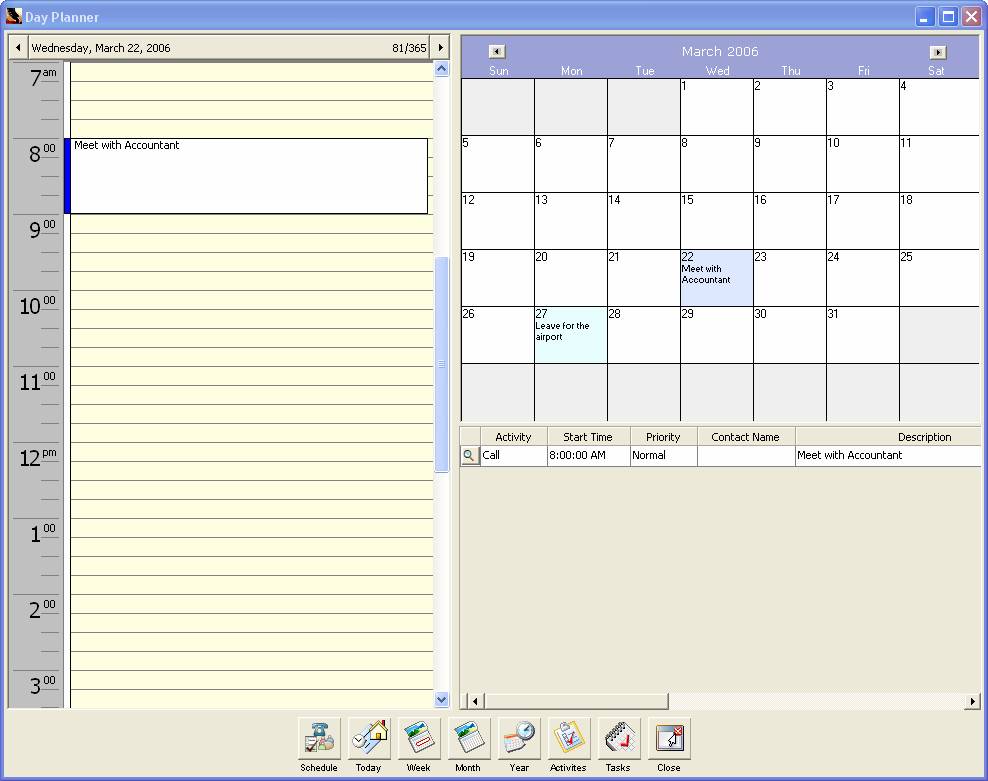
The Scheduled Activities will display the next 5 up coming
activities for the user. You can select
any activity to view the Day Planer and make changes or add new activities by
clicking the New link.
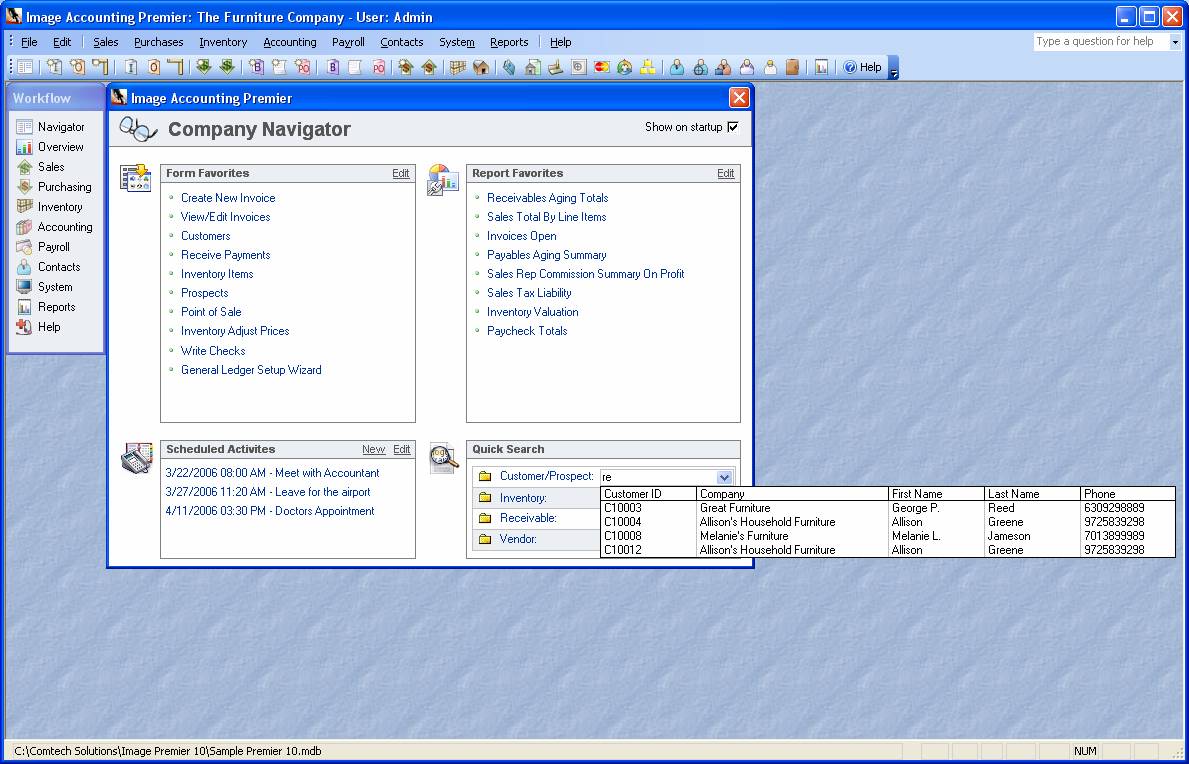
The Quick Search provides a very fast way
to find Customers, Prospects, Inventory, Receivables or Vendors. For example, in the Customer/Prospect combo
box it allows a user to type in any part of a Customer or Prospects ID, Company
Name, First Name, Last Name or Phone Number. When you press enter or
select a record from the list using the mouse it will automatically open either
the Customer or Prospect form (depending on the data found) to that record.
In the example
below notice that typing the letters re
filtered the Customer/Prospect combo box to show only customers/prospects that
have re in their name. This will
find the data entered anywhere in those 5 fields even if it is in the middle of
their name like Green or Furniture. Selecting Allison Green opens the
Customer form to that specific customer.
The Toolbar can also be used to quickly
open certain forms. Each toolbar item has a tool tip to explain what it
does.

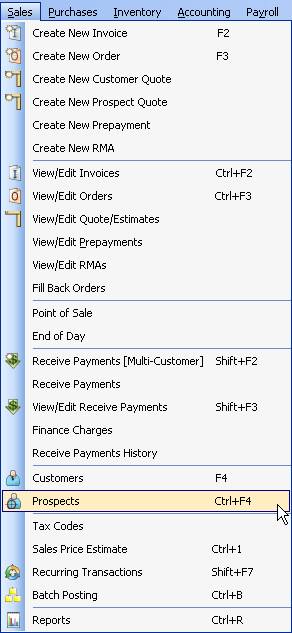
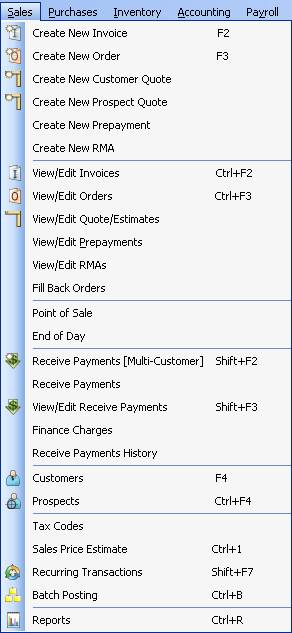
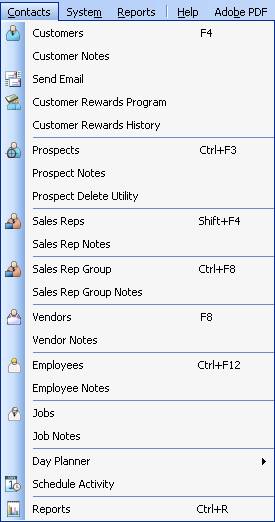
The Keyboard Shortcuts are another time
saving feature in the main menu. Many of the frequently used forms have
an assigned keyboard shortcut to them as shown in the Sales menu. For
example holding down the Ctrl key and pressing the F4 key will
open the Prospects form. You can
see a list of all the keyboard shortcuts in the help file.
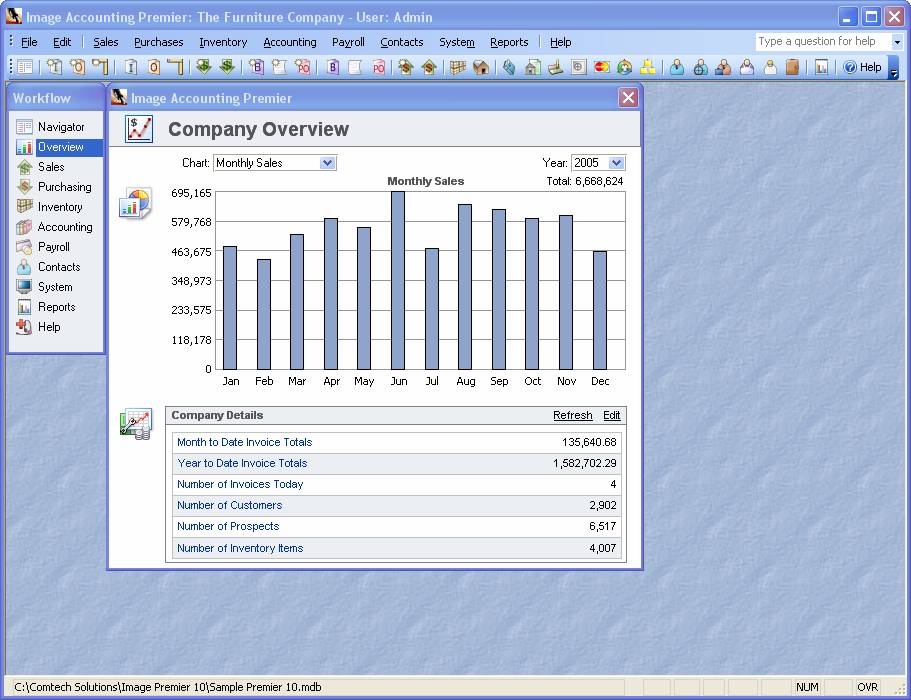
The Company Overview displays a variety of charts and other
details about your company. The Company
Overview can display a Monthly Sales, Yearly Sales or Revenue vs. Expense
Chart. The Company Details can be
customized to show a variety of information by clicking the Edit link.
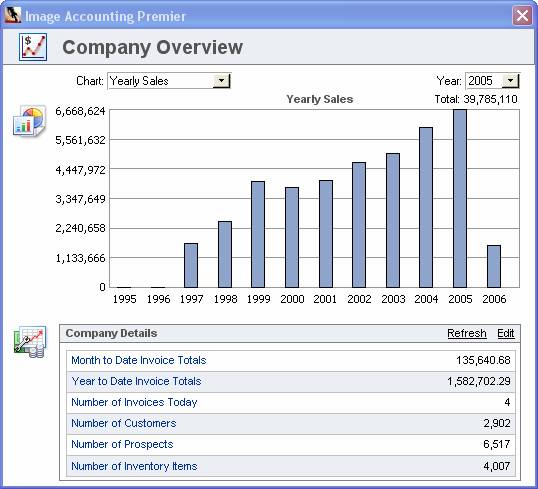
This is the Yearly Sales Chart which can be displayed by selecting
it from the Chart combo box.
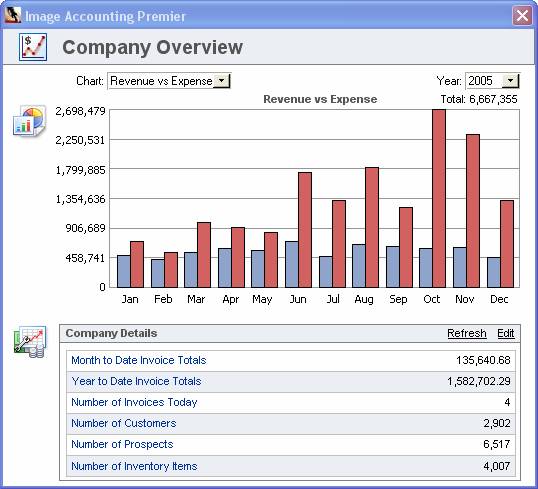
This is the Revenue vs. Expense Chart which can be displayed by
selecting it from the Chart combo box.
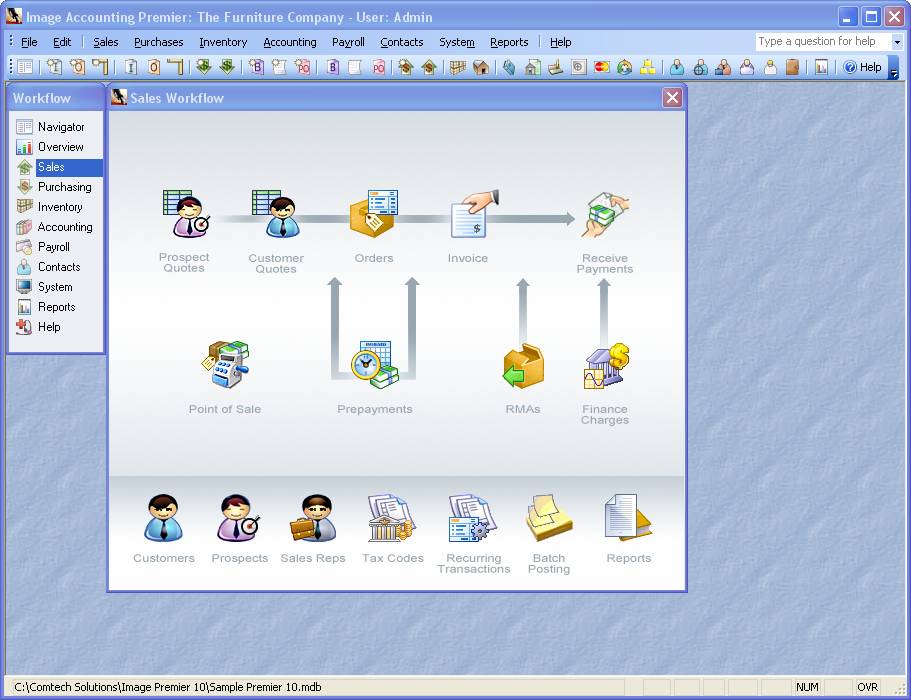
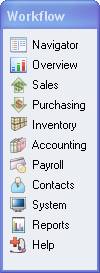
The Workflow menu displays a graphical flow
of each of the main accounting modules.
Clicking on any of the workflow menus will open the corresponding
workflow as shown below.
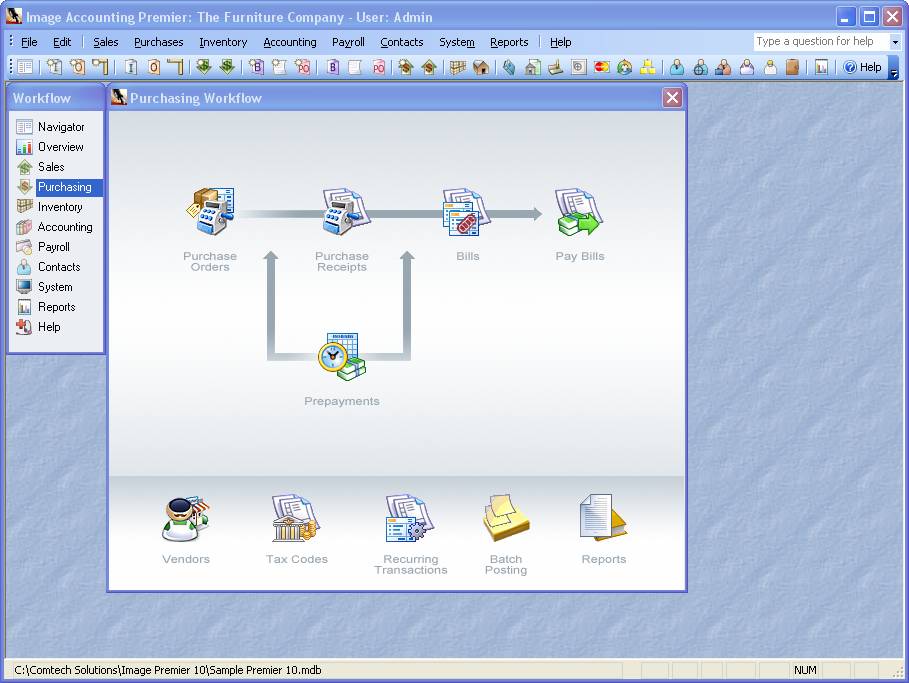
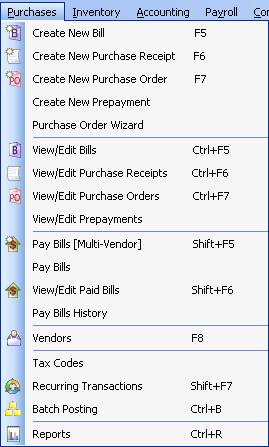
This is the Purchasing Workflow which can be displayed by selecting Purchasing from the Workflow menu.
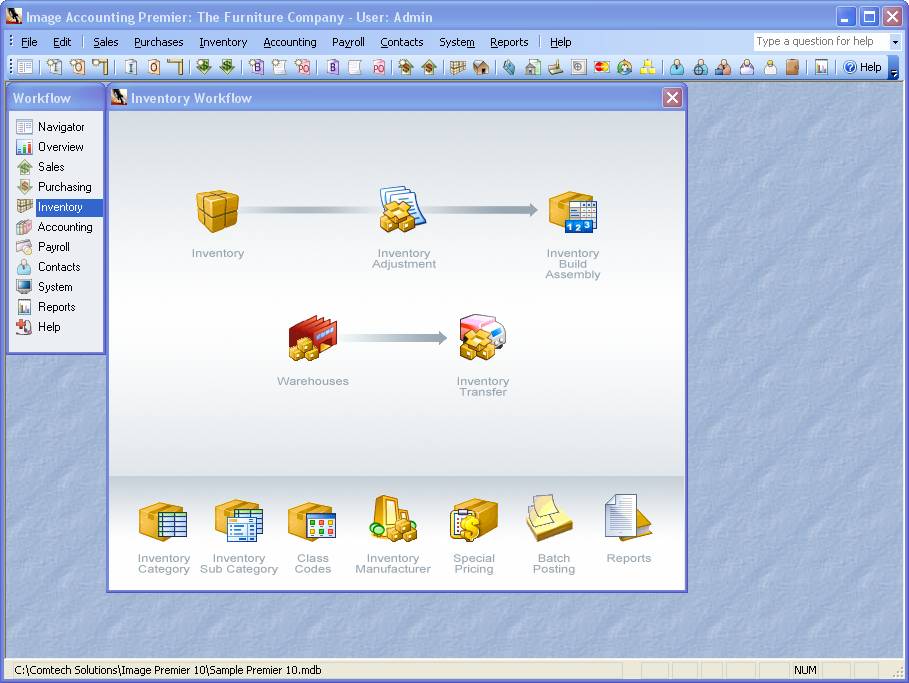
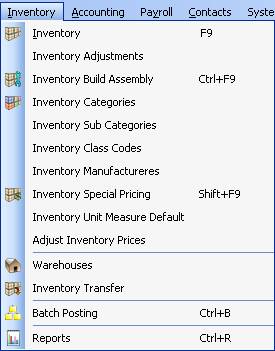
This is the Inventory Workflow which can be displayed by selecting Inventory from the Workflow menu.
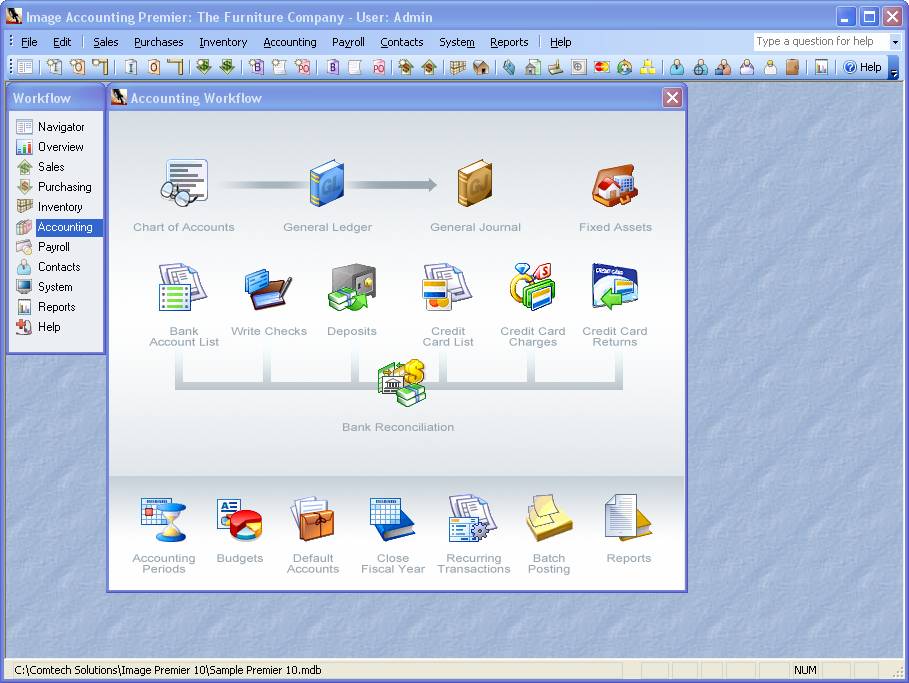
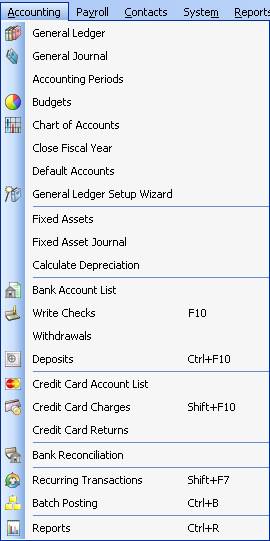
This is the Accounting Workflow which can be displayed by selecting Accounting from the Workflow menu.
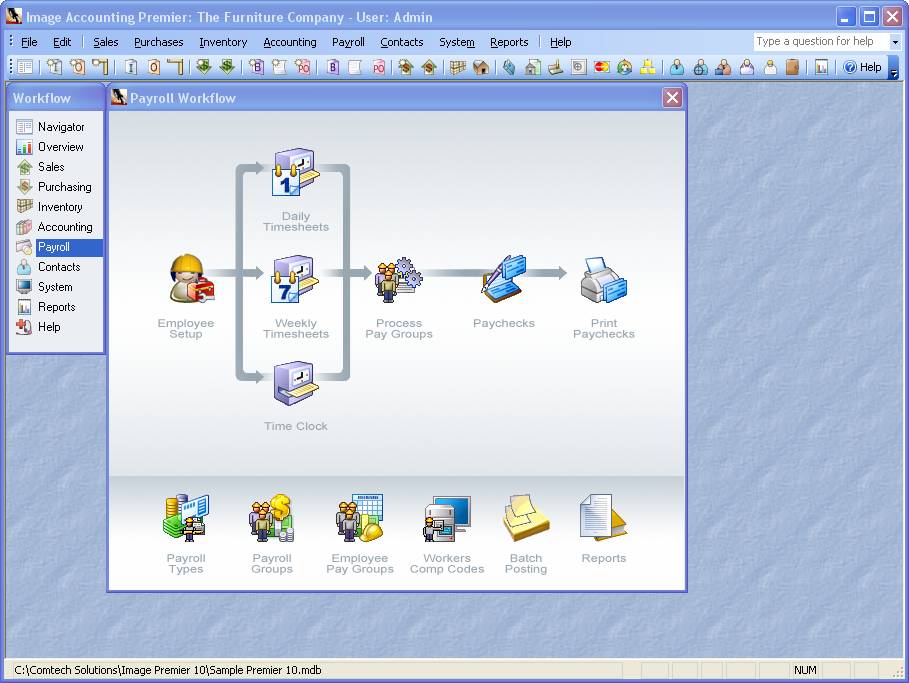
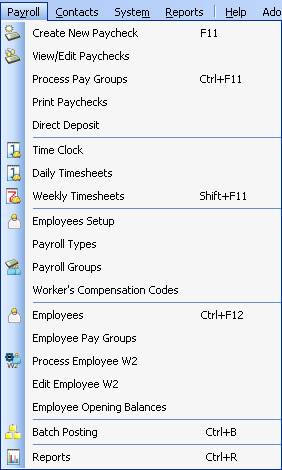
This is the Payroll Workflow which can be displayed by selecting Payroll from the Workflow menu.
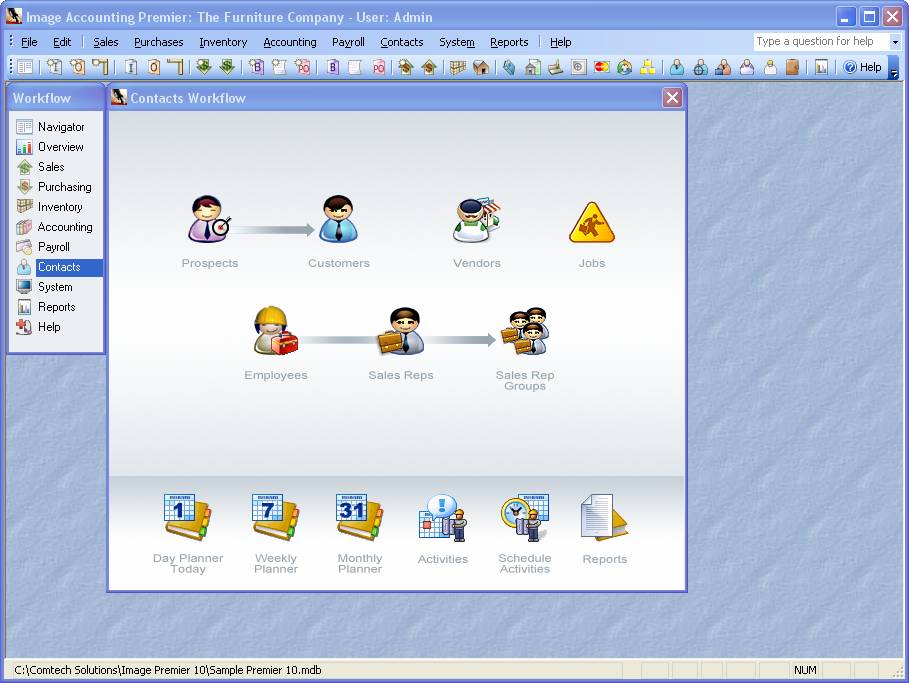
This is the Contacts Workflow which can be displayed by selecting Contacts from the Workflow menu.
This is the System Manager Workflow which can be displayed by selecting System from the Workflow menu.

The Workflow itself is a small tight form
that snaps to the upper left corner of the Main Menu. This keeps it small and
out of the way when the graphical workflows are not in use.
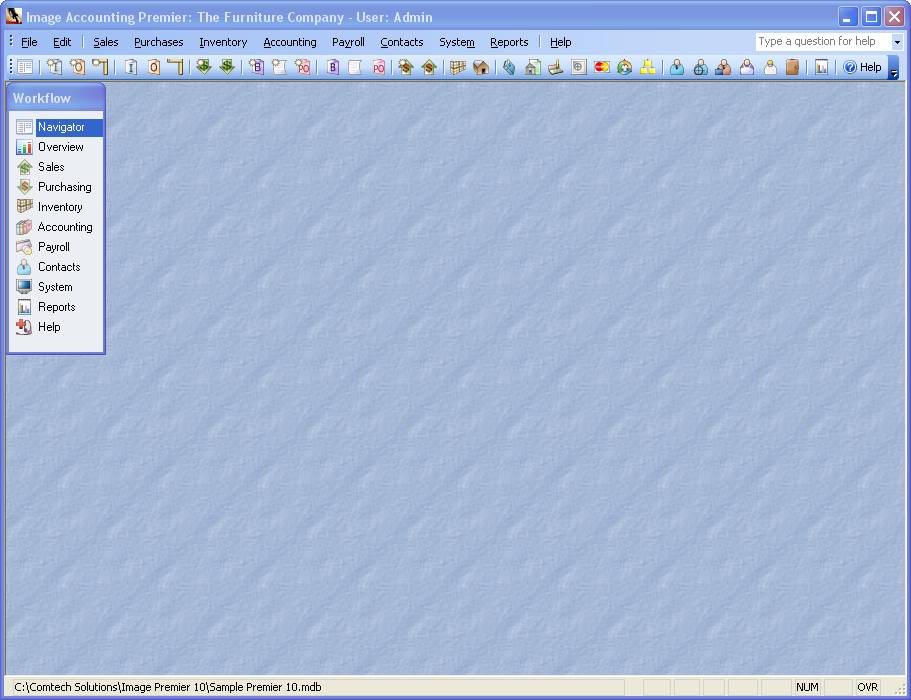
What is nice about this design is none of the actual workflows need to show
unless you click one of the menus in the workflow. So the Main Menu has a
clean look like shown below when a workflow is not in use. The graphical
workflow can be automatically turned off when you select any of the top pull
down menus. After getting more familiar with Image Accounting you might
prefer using the more advanced pull down menus instead of the graphical workflows.
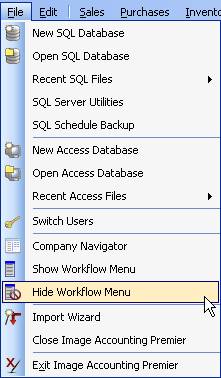
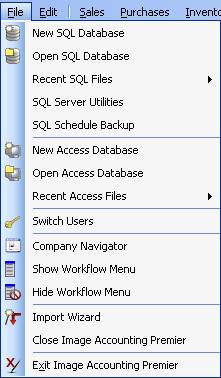
The Workflow itself can be turned on or off from the File pull down menu if a user would rather use the more advanced
pull down menus instead.
Even if the user decides they do not want the Workflow displayed they can still
show only the Company Navigator on
the main menu as shown below. None of the other workflows can do this
except the Company Navigator. In order to use the other workflows you
must have the Workflow enabled.
The Advanced Menus can be used to access
every aspect of the program. Listed
below are all the menus located at the top of the Main Menu.

File Menu
Edit Menu

Sales Menu
Purchases
Menu
Inventory
Menu
Accounting
Menu
Payroll
Menu
Contact
Manager Menu
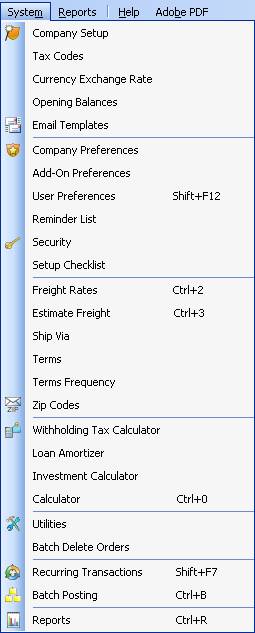
System
Manager Menu
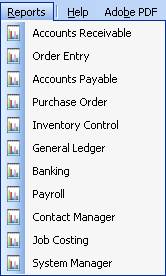
Reports
Menu
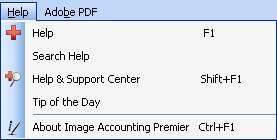
Help Menu
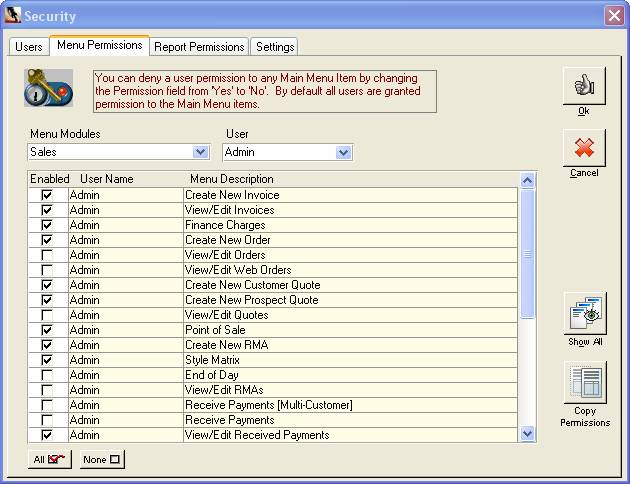
All the
Forms & Reports can be limited per user by setting options in the Security form. So if you do not
want a user to be able to open certain forms or reports they will not be able
to.
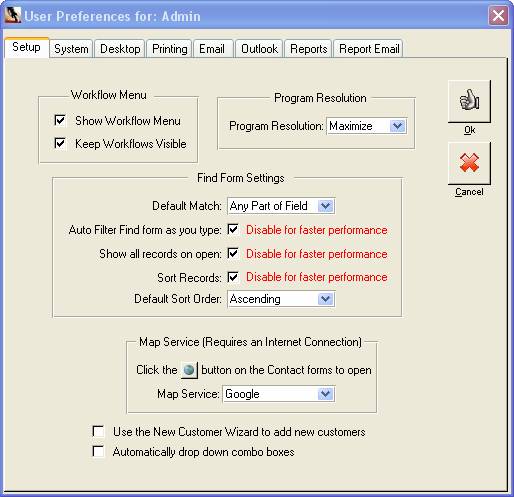
Using the User Preference form you
can decide if you want to the Company Navigator to open automatically or not on
startup.
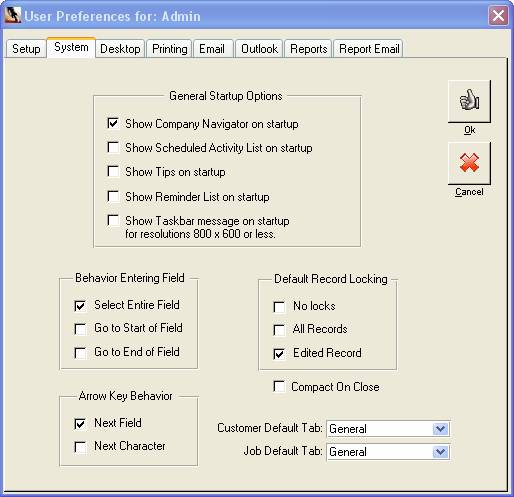
Also using the User Preference form
you can decide if you want the Workflow to display on the main menu or hide it. The same option can be set in the File pull
down menu as shown above.
The background of the Manu Menu can display a graphic a lot like
wallpaper. You can select your own custom background graphic using the User Preference form.
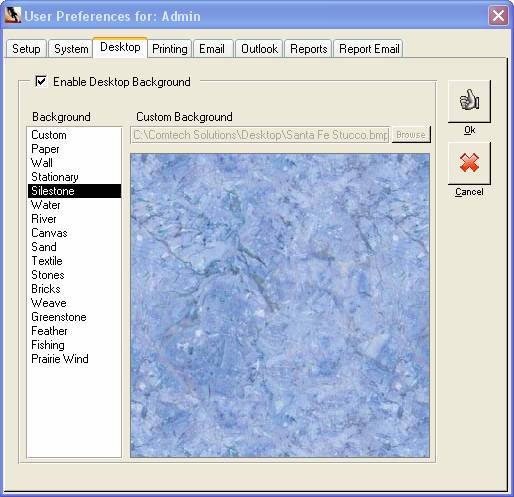
This only affects the Image Accounting desktop and not your Windows desktop.
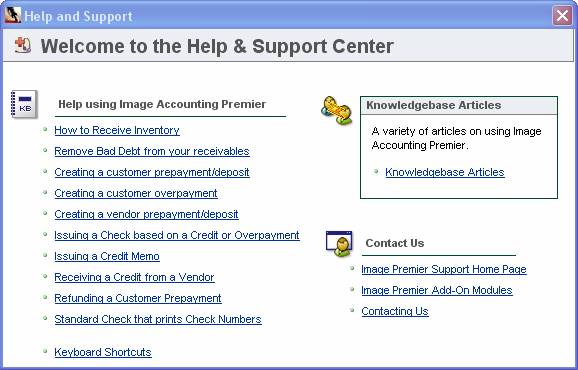
Clicking Help in the Workflow or selecting Help
& Support Center
from the Help pull down menu opens the handy Help & Support Center
form. This form provides help to many of the frequently ask questions and
also provides a link to our up to date Knowledgebase Articles.